Mount Rinjani trekking guide
All the cliches you’ve heard about climbing mountains are true. Metaphorically, conquering a mountain feels like overcoming an obstacle in life. Whether it’s to test your athletic abilities or to escape urban life and admire nature’s beauty, there are many reasons to enjoy a mountain trek.
As the second-highest volcano in Indonesia, standing at 3,726m in height, trekking through Mount Rinjani is no easy feat. The terrain is steep for about a third of the journey while the ground is mostly loose rubble. Not only does hiking Rinjani require a good level of fitness, but you also need the mental strength to persevere through the challenge.
Here’s our guide on how to conquer the mountain:
Hiking Mount Rinjani
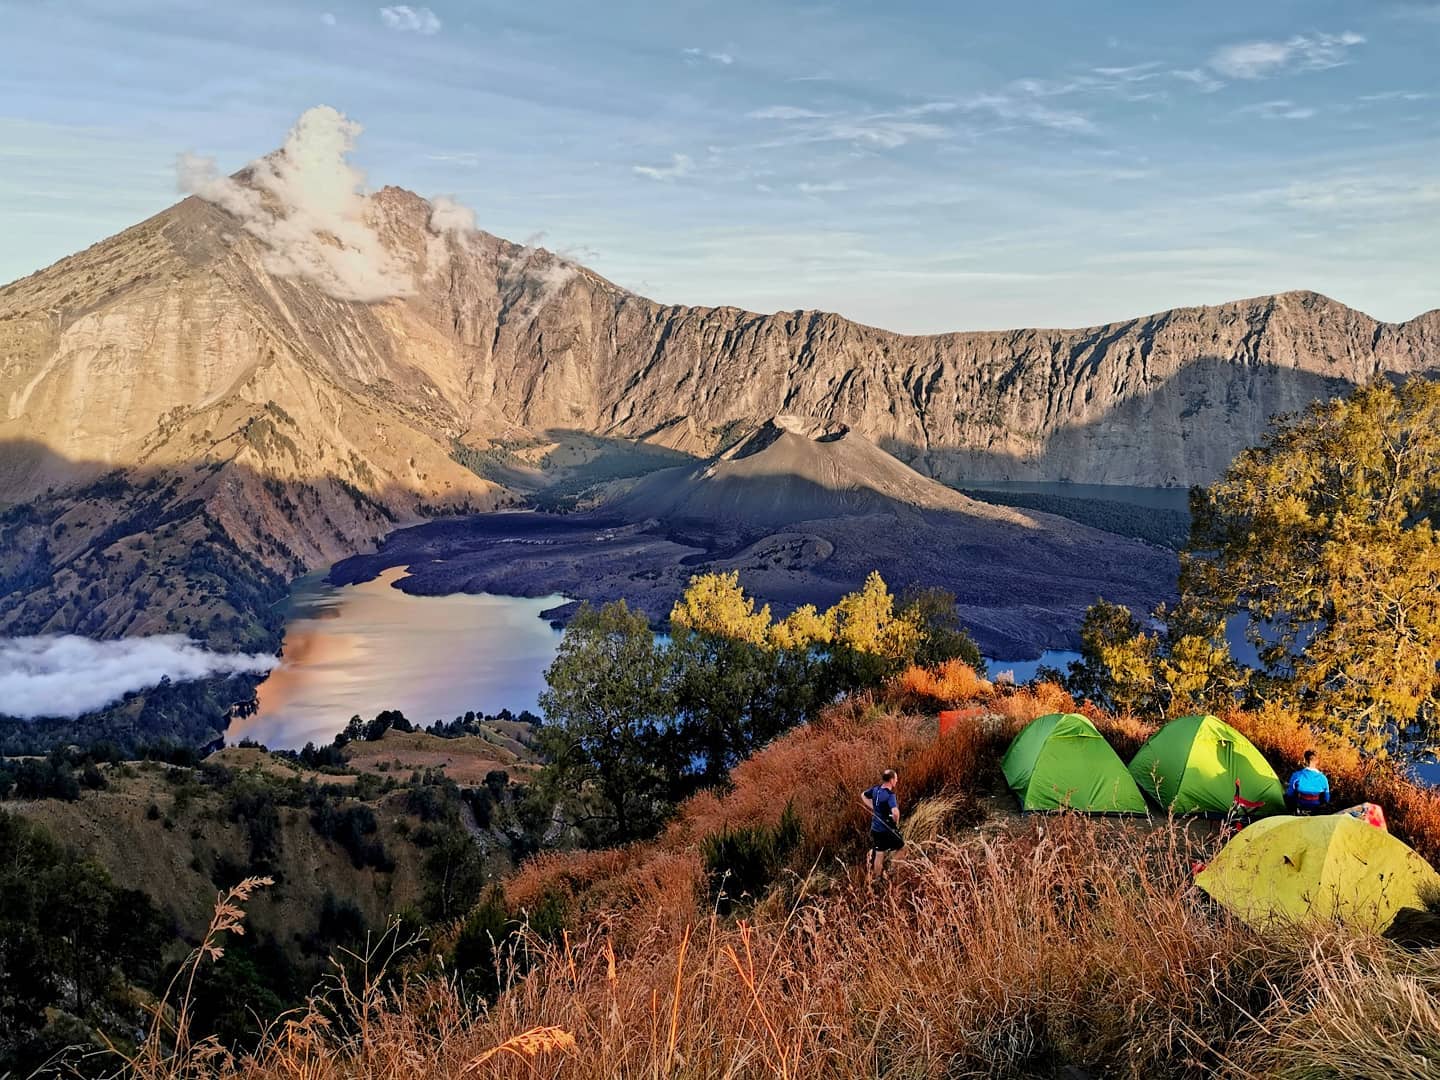
Image credit: @markey1881
When I climbed Mount Rinjani in 2015, there were only a handful of reputable tour companies operating and now there are tons. This is a testament to how popular the trek has become.
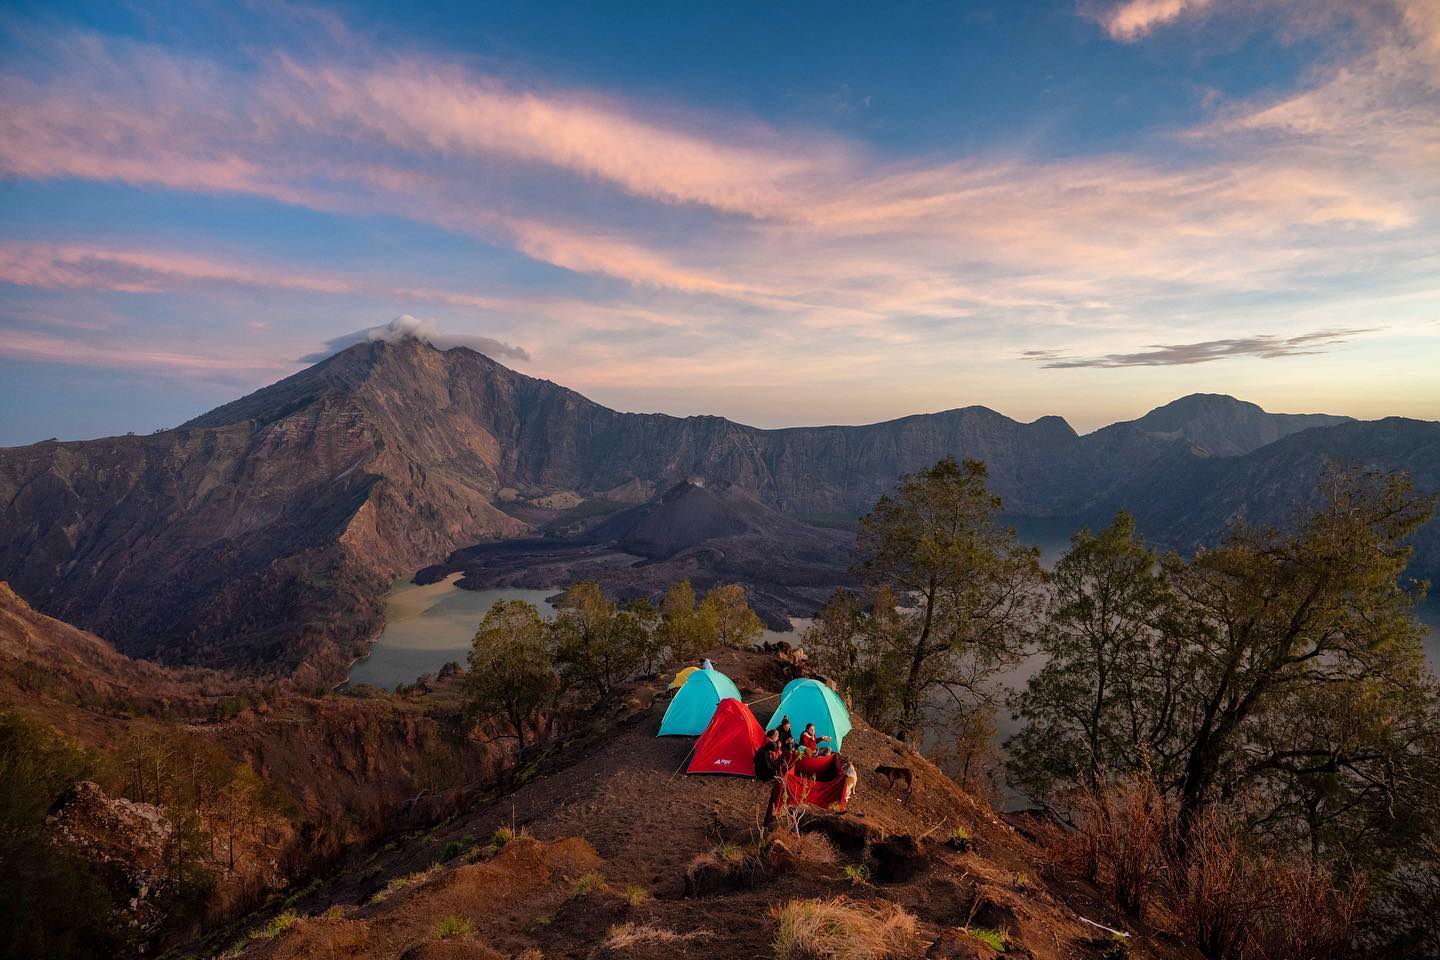
The mountain has so much to offer – a challenging route that brings a sense of accomplishment once completed, as well as breathtaking views of the lake and the crater. It’s a very rewarding experience despite the difficult trek.
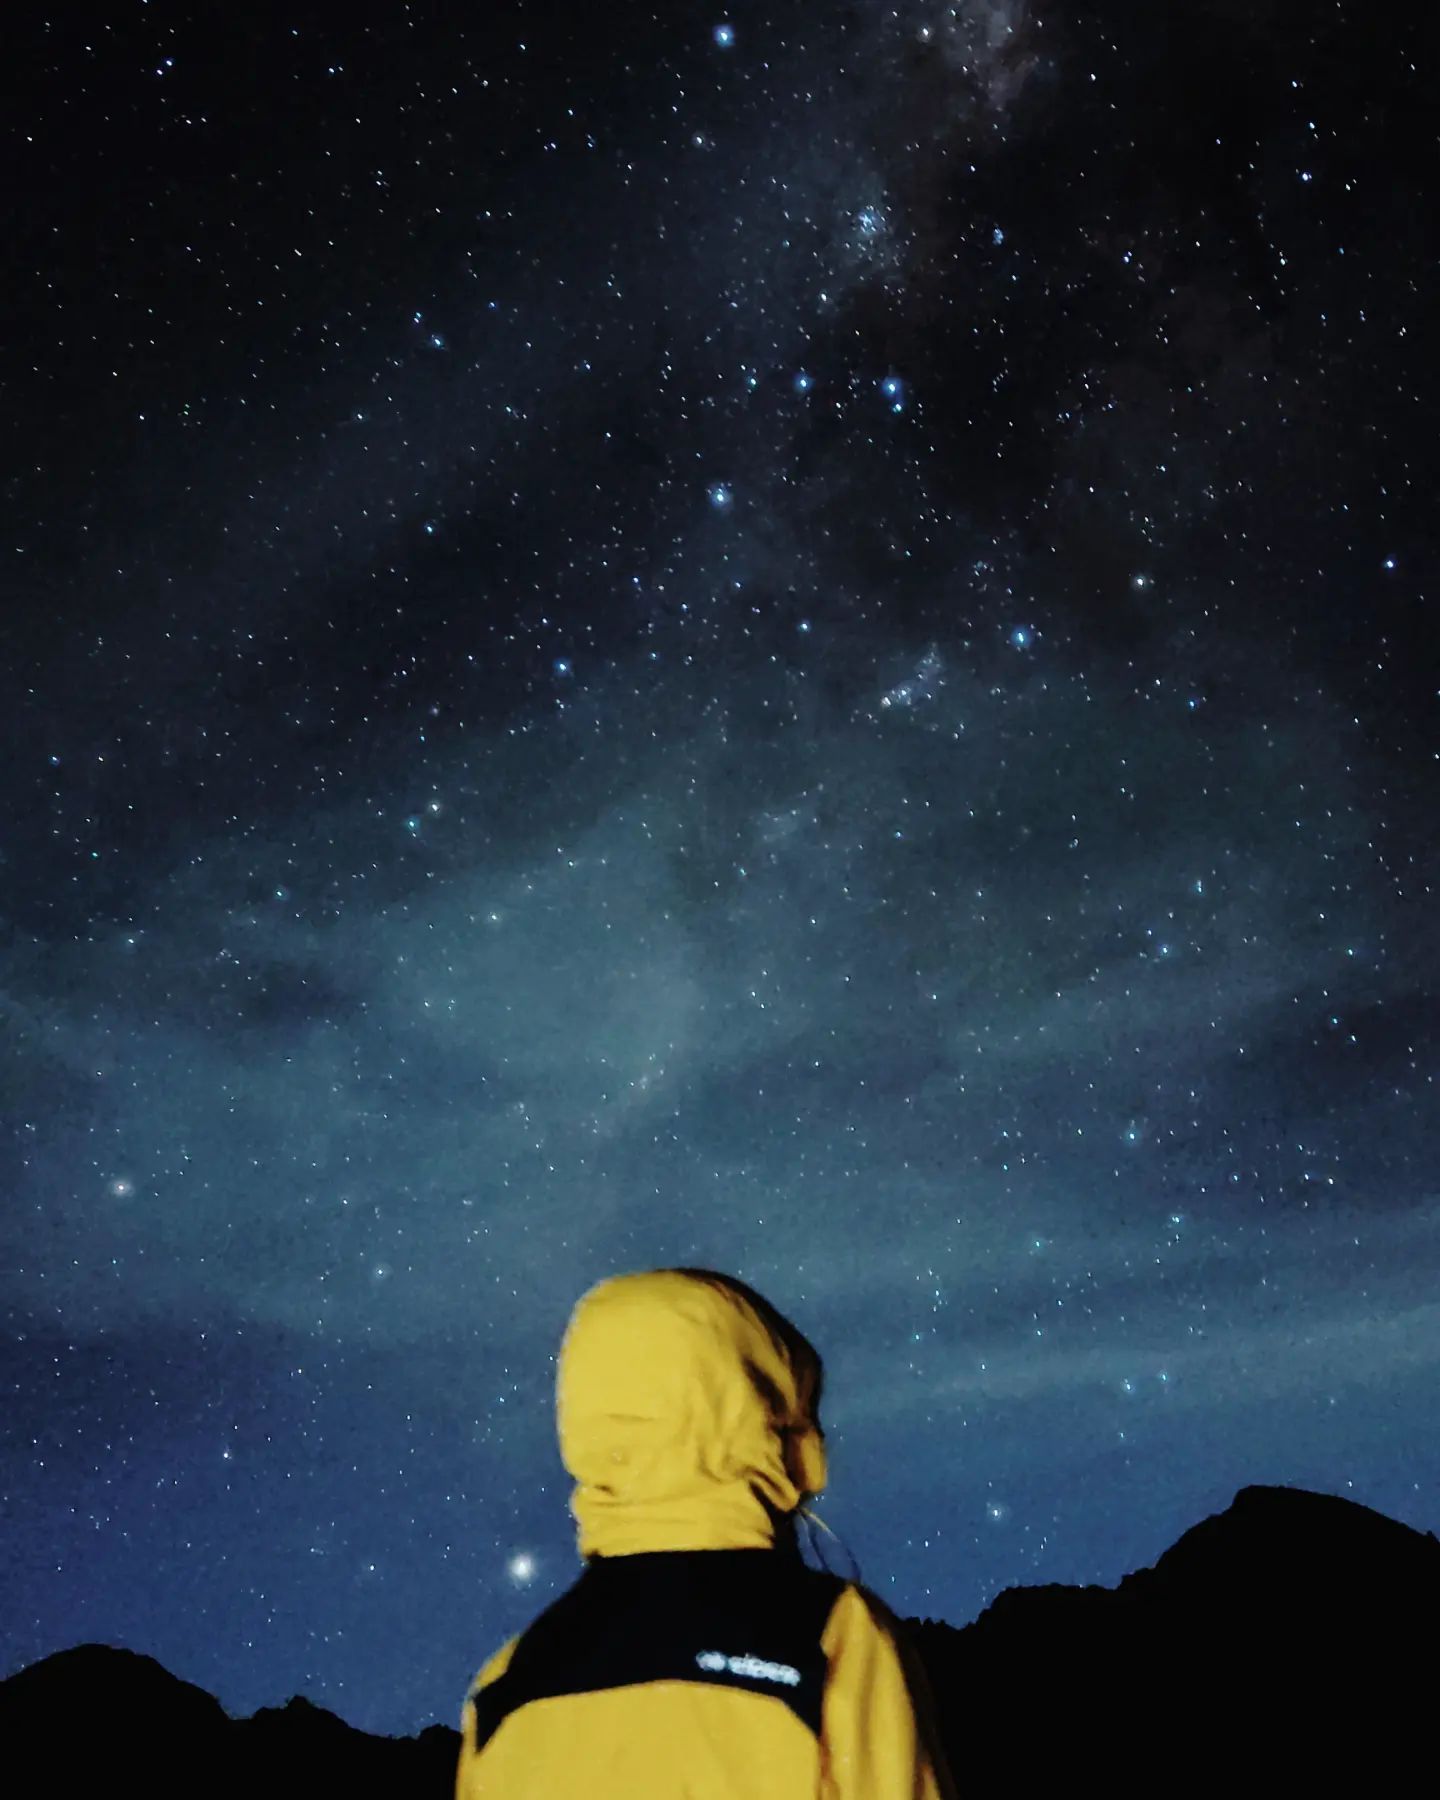
Image credit: @kautsar_fr
If you live in a city polluted with lights, you’ve never truly seen the beautiful night sky in all its glory. At Mount Rinjani, you’ll also get the rare opportunity to see millions of stars twinkling all night.
To set the record straight, the hike takes a minimum of 2 days, that too if you’re prepared to go at a fast pace. And there’s no avoiding outdoor camping which means sleeping in the cold and pooping in a hole in the ground. However, if you’ve packed and prepared well, you’re in for a treat.
Book a local guided tour from S$262
Mount Rinjani base camp.
Image credit: @lisa.doman
With the rugged landscape of the Mount Rinjani trek, booking an experienced and professional local tour guide to lead you up the mountains is highly recommended.
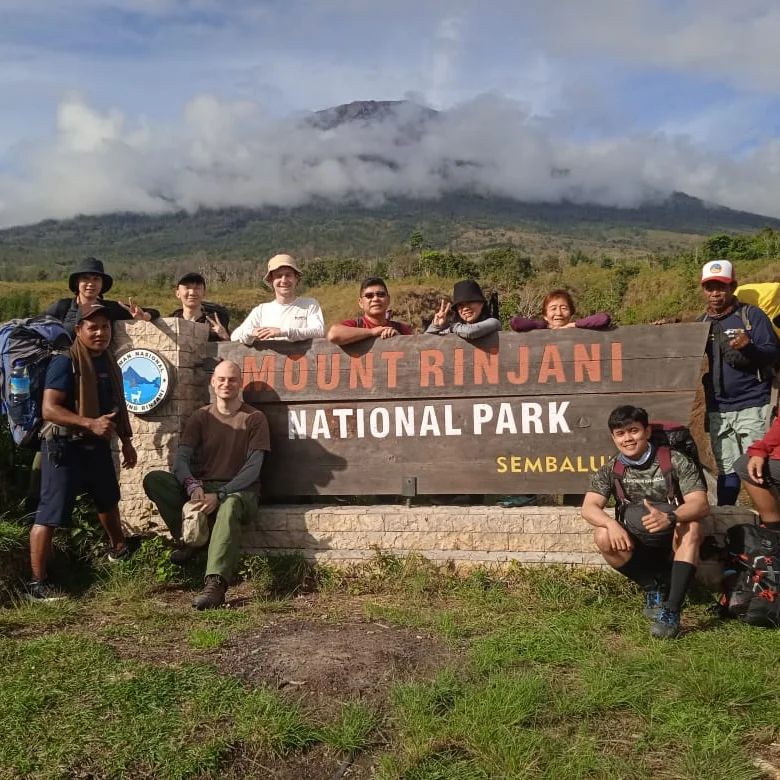
Image credit: @backpacker.rinjani
For most of us, booking a guide is a must. You can decide to go on a private tour or join a group if you’re up to making some new friends from around the world. There are numerous local companies offering guided services but when choosing, look out for one that includes meals, sleeping tents, a toilet tent, and a garbage pack-out.
Without these inclusions, you’ll have to carry all the equipment on your own and trust me, the climb is already difficult as it is. Adding on all this extra weight and having to cook your own food will make it extremely challenging.
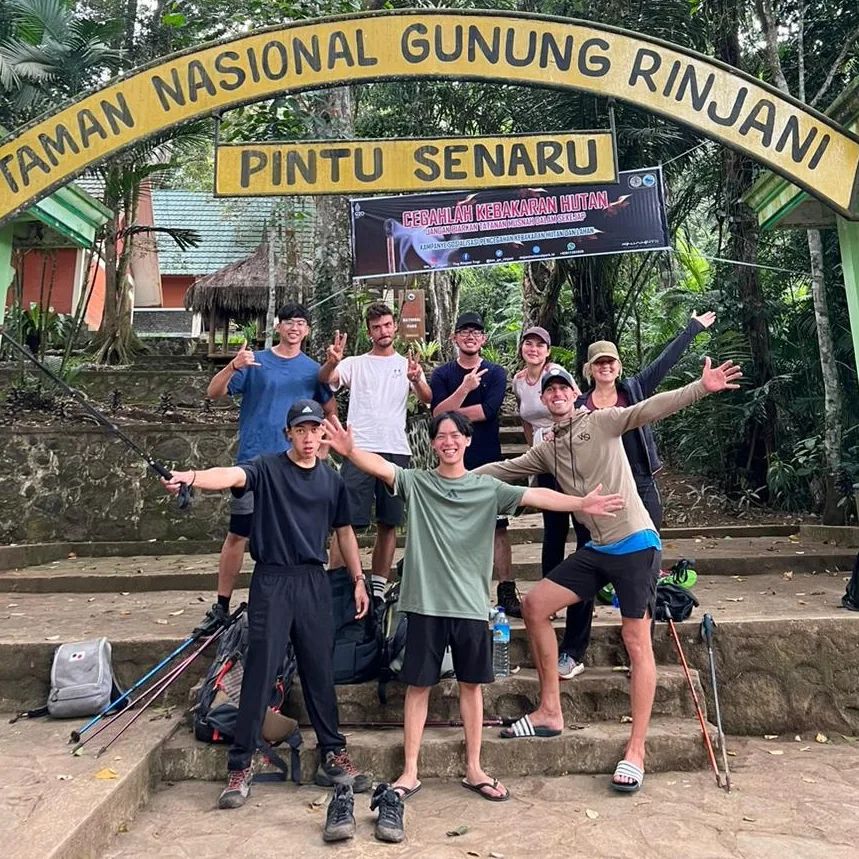
Image credit: @ justinchiachia
Most companies will also offer hotel transfers and the package cost should include the entrance fee to Rinjani National Park. Budget extra for accommodation in Lombok and small tips for the porters.
Book a Mount Rinjani trekking tour (from S$262.55).
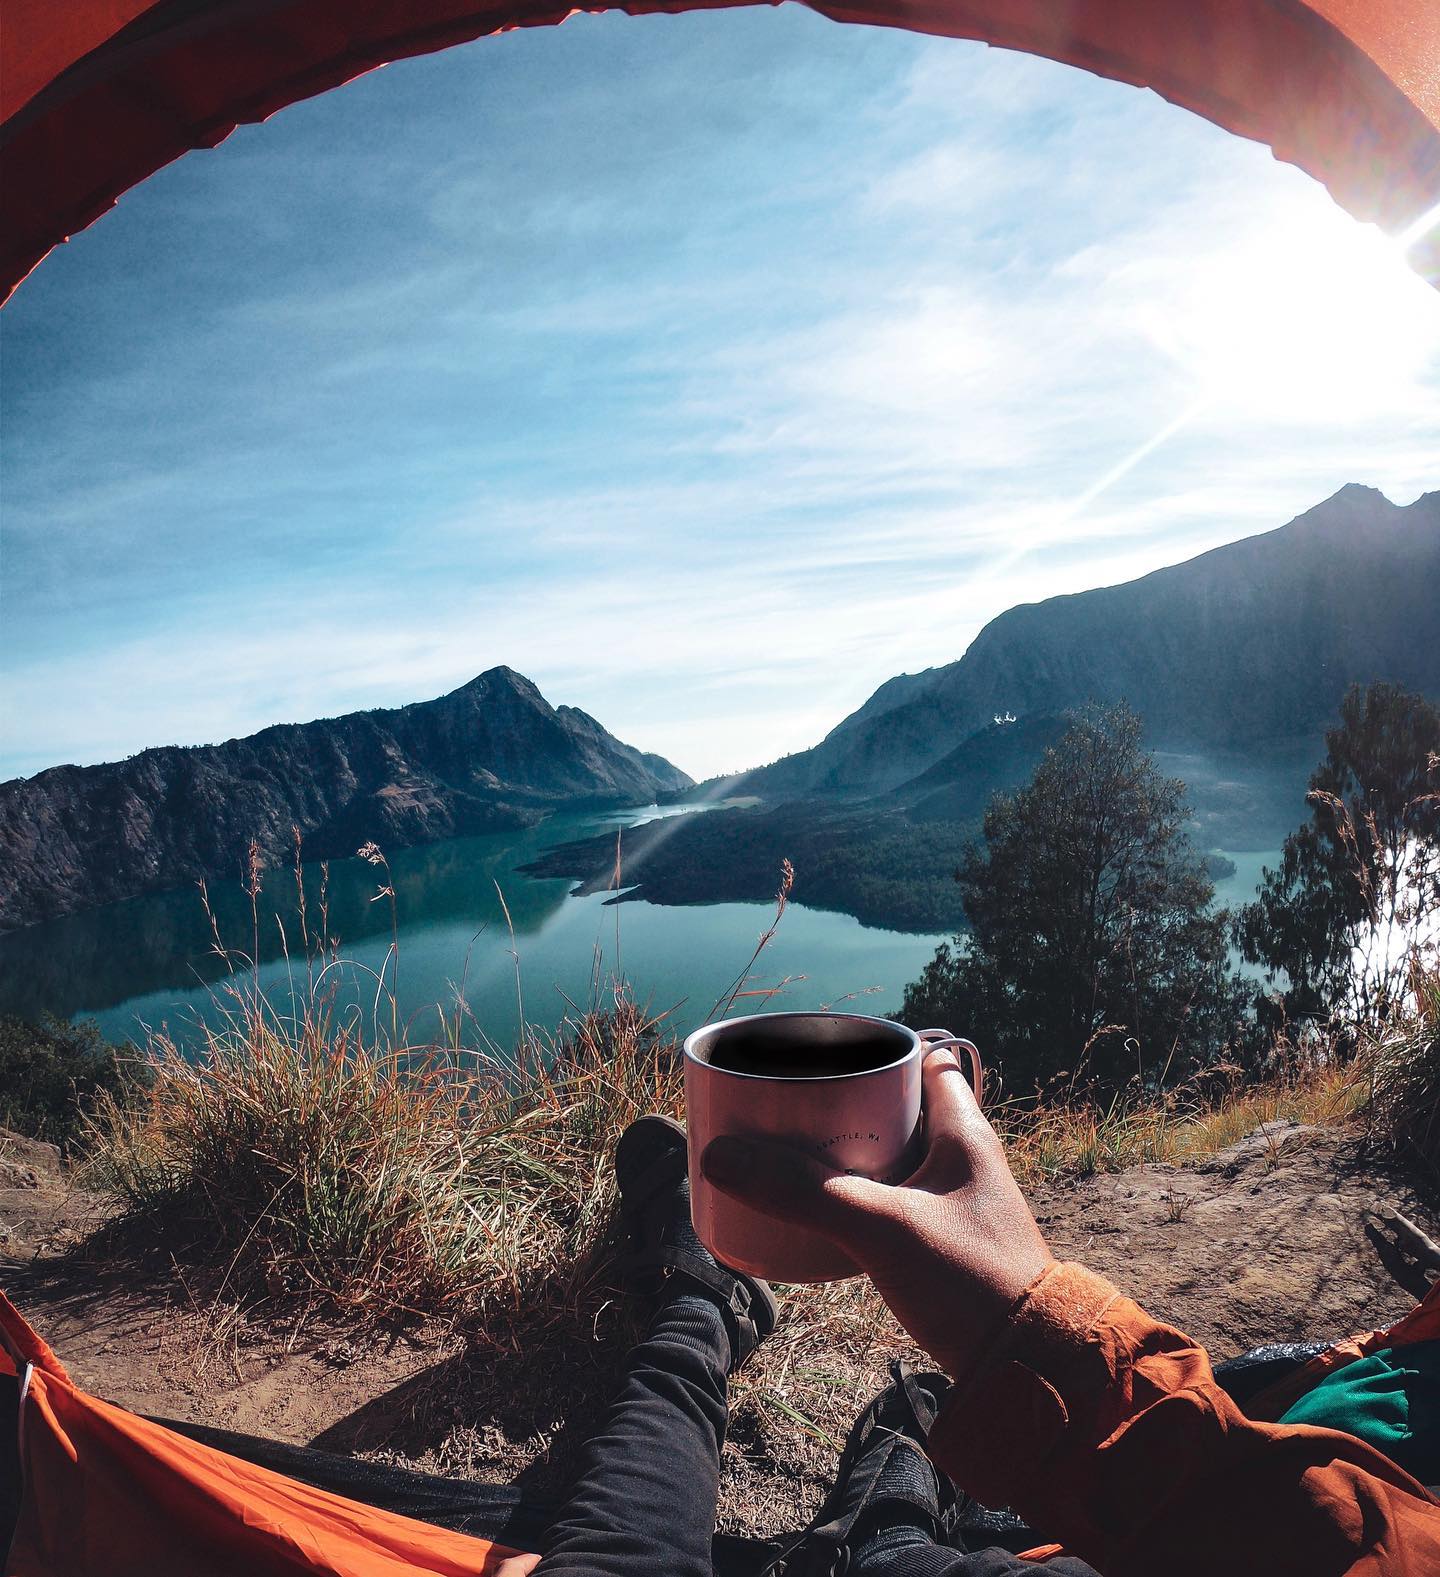
Image credit: @cerolcero
While you can hike unguided, due to the difficulty of trekking Mount Rinjani, the authorities strongly discourage doing so. If you are an experienced climber and intend to go on your own, register your name with the Gunung Rinjani National Park Office before starting your climb.
Gunung Rinjani National Park Office
Admission: Rp. 150,000/person (~$S13.49)
Address: Jalan Raya Sembalun Lawang, Sembalun Lawang, Kecamatan Sembalun, Kabupaten Lombok Timur, Nusa Tenggara Barat 83666, Indonesia
Opening hours: Mon 8am-5pm | Tue-Sun 7am-5pm
Choosing a route
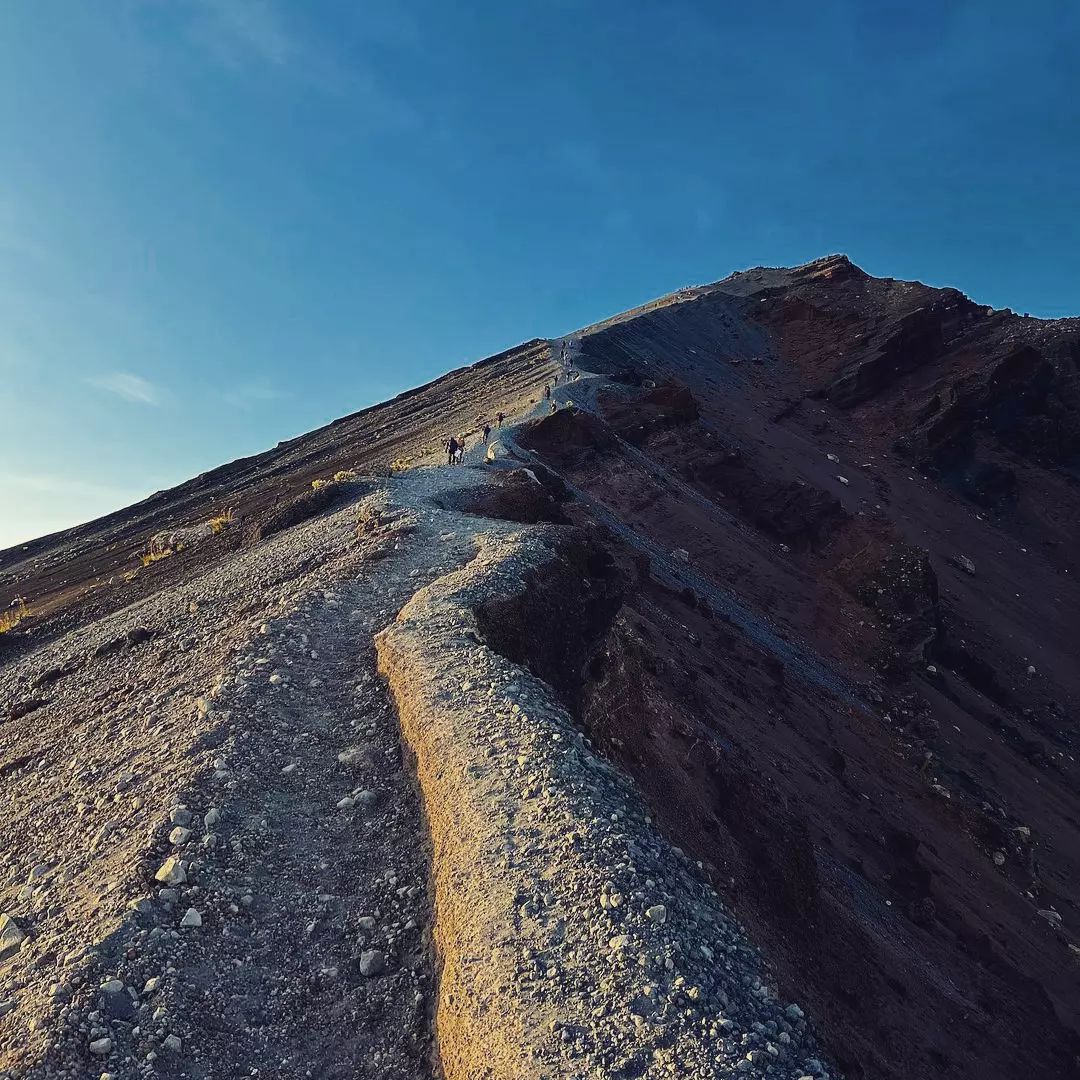
Image credit: @suara_alam.adv
There are 2 entry-exit points within Rinjani National Park – Sembalun and Senaru. Starting from Sembulan and ending at Senaru is generally considered the slightly easier route. This is because the ascend from Sembulan is on sandy soil that would be quite slippery if you were instead descending upon your return.
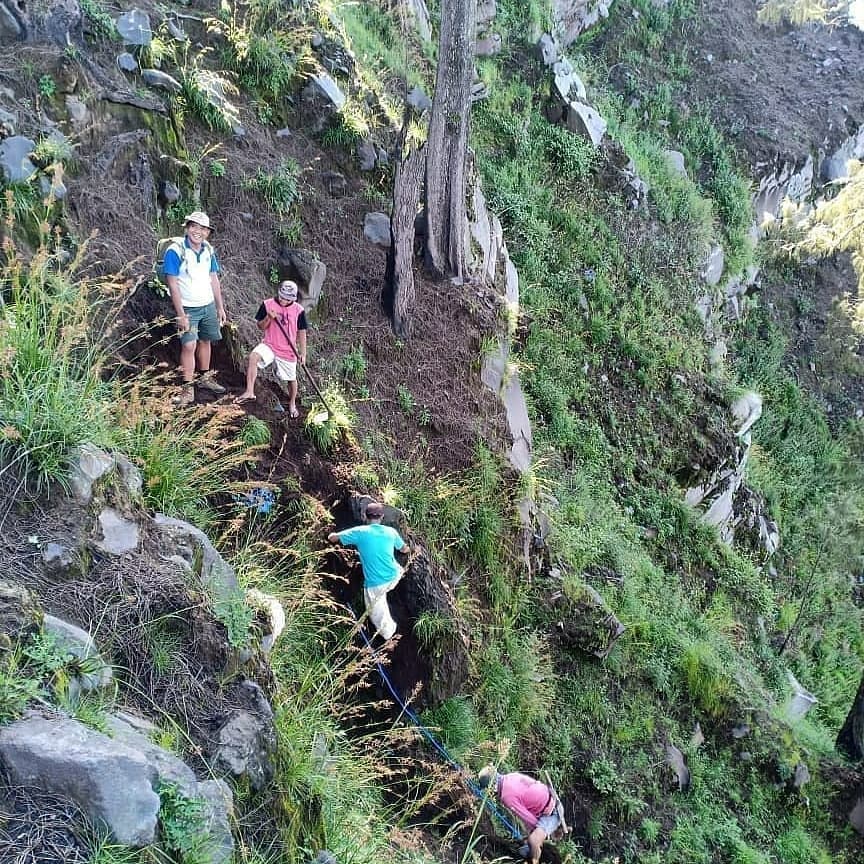
Imagine climbing up this practically vertical slope.
Image credit: @ id.echo
Also, the descent to the lake is very steep and would be hard on the knees if you were going upwards instead.
More experienced climbers can consider off-the-beaten trails from Aik Berik or Torean village.
The 3D2N hike itinerary
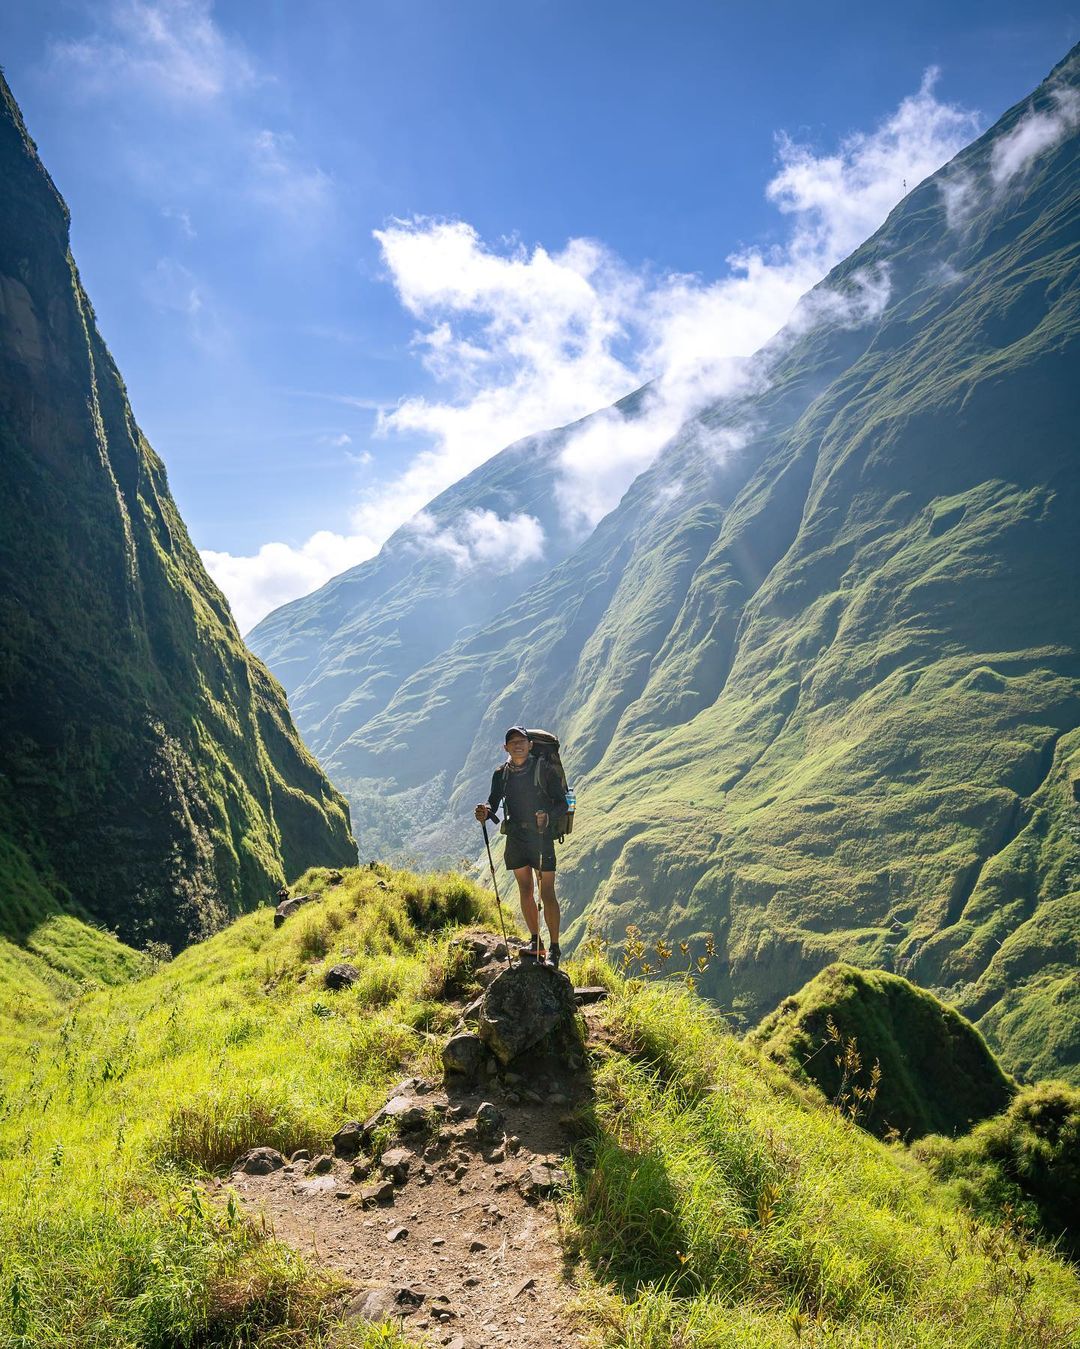
Image credit: @risky.apriyanto
The next thing you need to decide is the pace of your journey. Most folks go with the 3D2N trek to cover everything at a manageable pace. But if you’re short on time and are an experienced climber that can go faster, choose the 2D1N where you still get to see the sunrise at the summit.
However, if you’ve got time to spare, we recommend the 4D3N trek to go at a leisurely pace and enjoy more time on the mountain. There’s plenty to see and experience as you will soon discover.
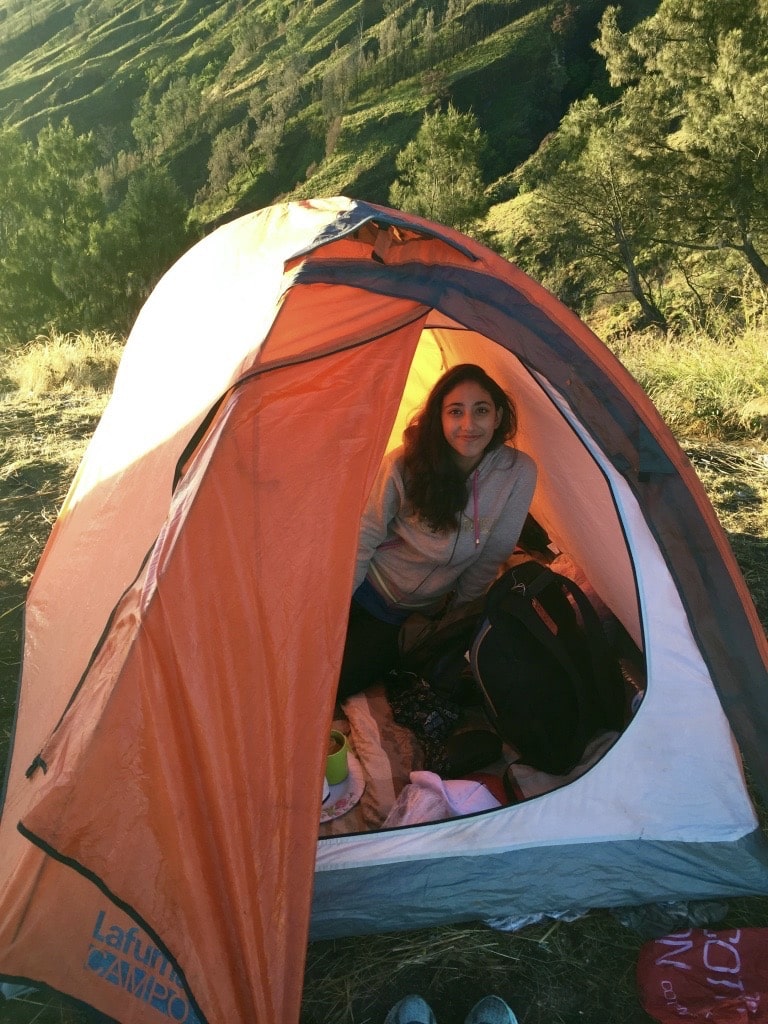
Spend each night in a camping tent for 1 or 2 people.
Image credit: Aditi Kashyap
For both the 3D2N and 4D3N climbs, you’ll begin your adventure on the first day with an 8-hour climb up to the first campsite. There are 3 posts in between for you to take short breaks. Once you’ve reached the campsite, have dinner and admire the blanket of stars that shine bright in the dark.
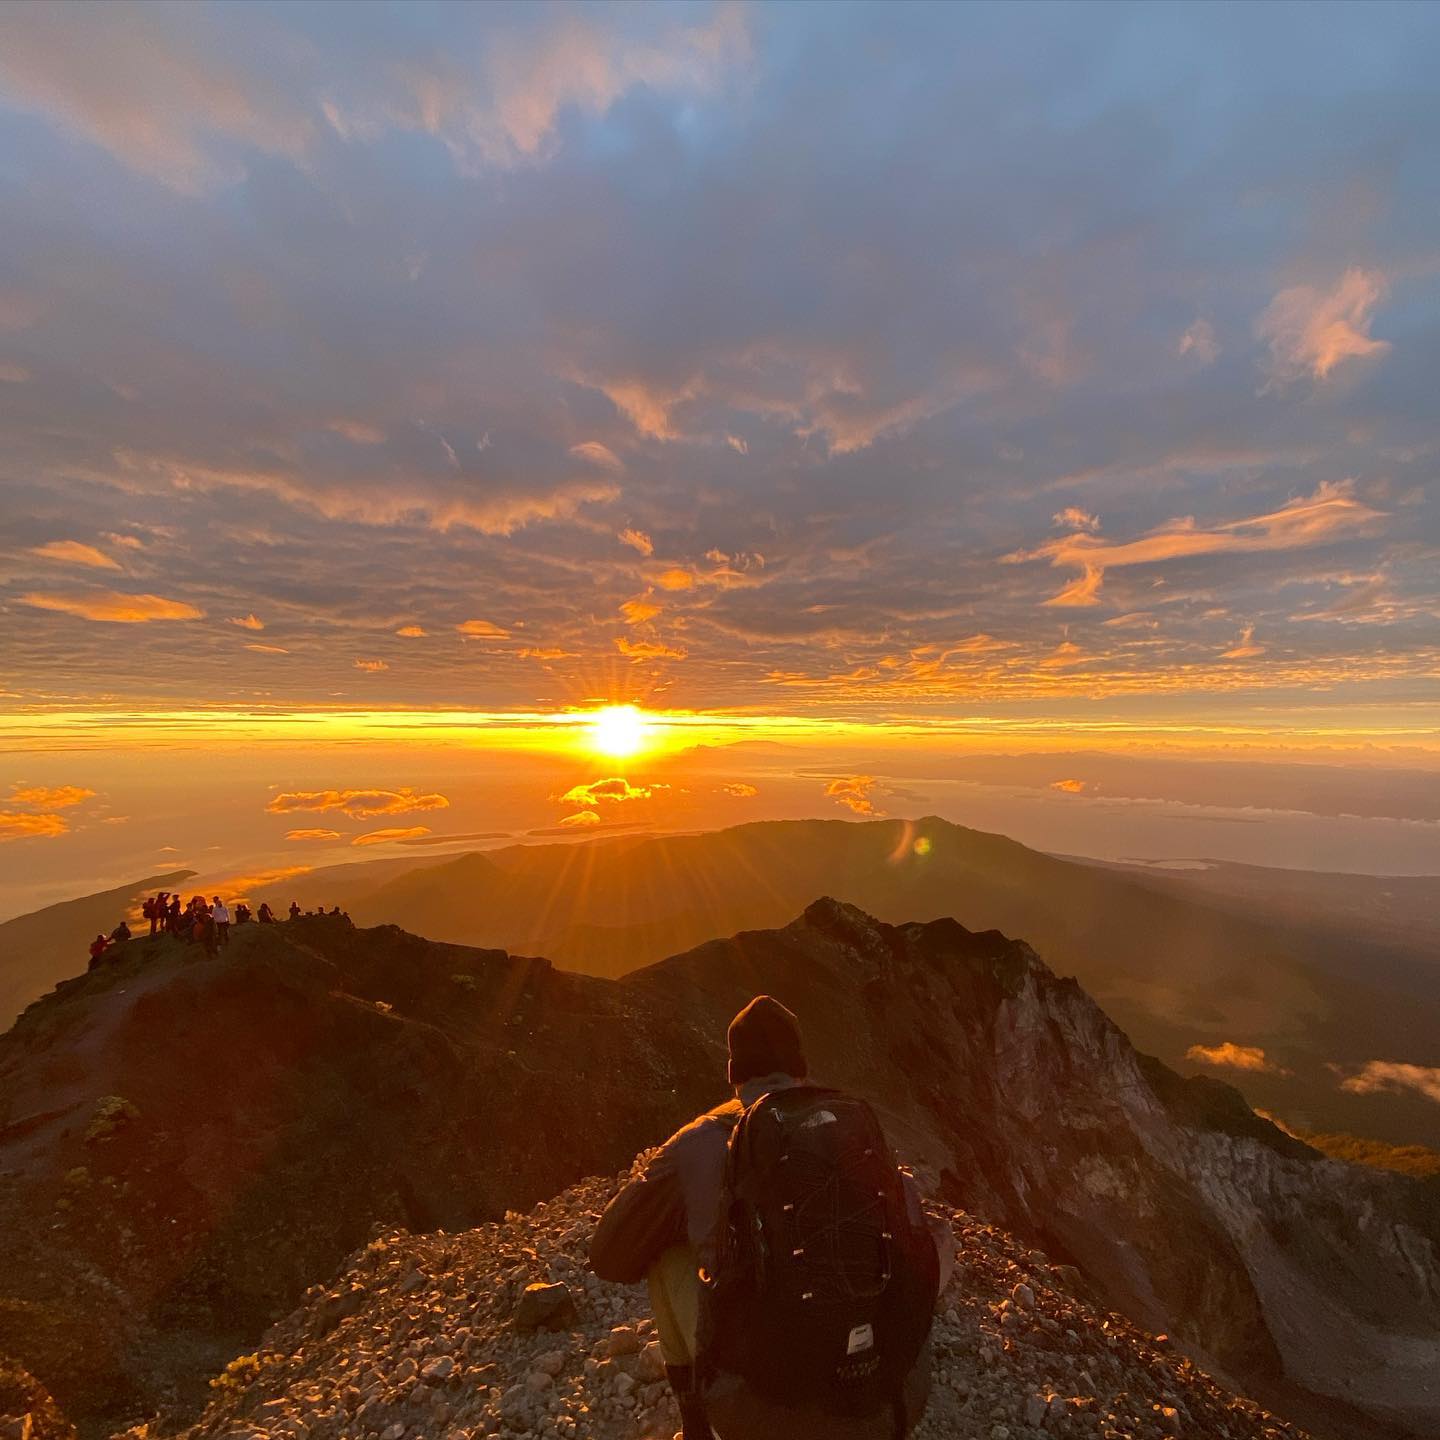
Image credit: @jeroendejong_
On the first night, be prepared to only get a couple of hours of sleep as you’ll make your way to the peak starting at around 2am. Upon reaching the top, catch one of the most glorious sunrises you’ll witness in your life at around 6am.
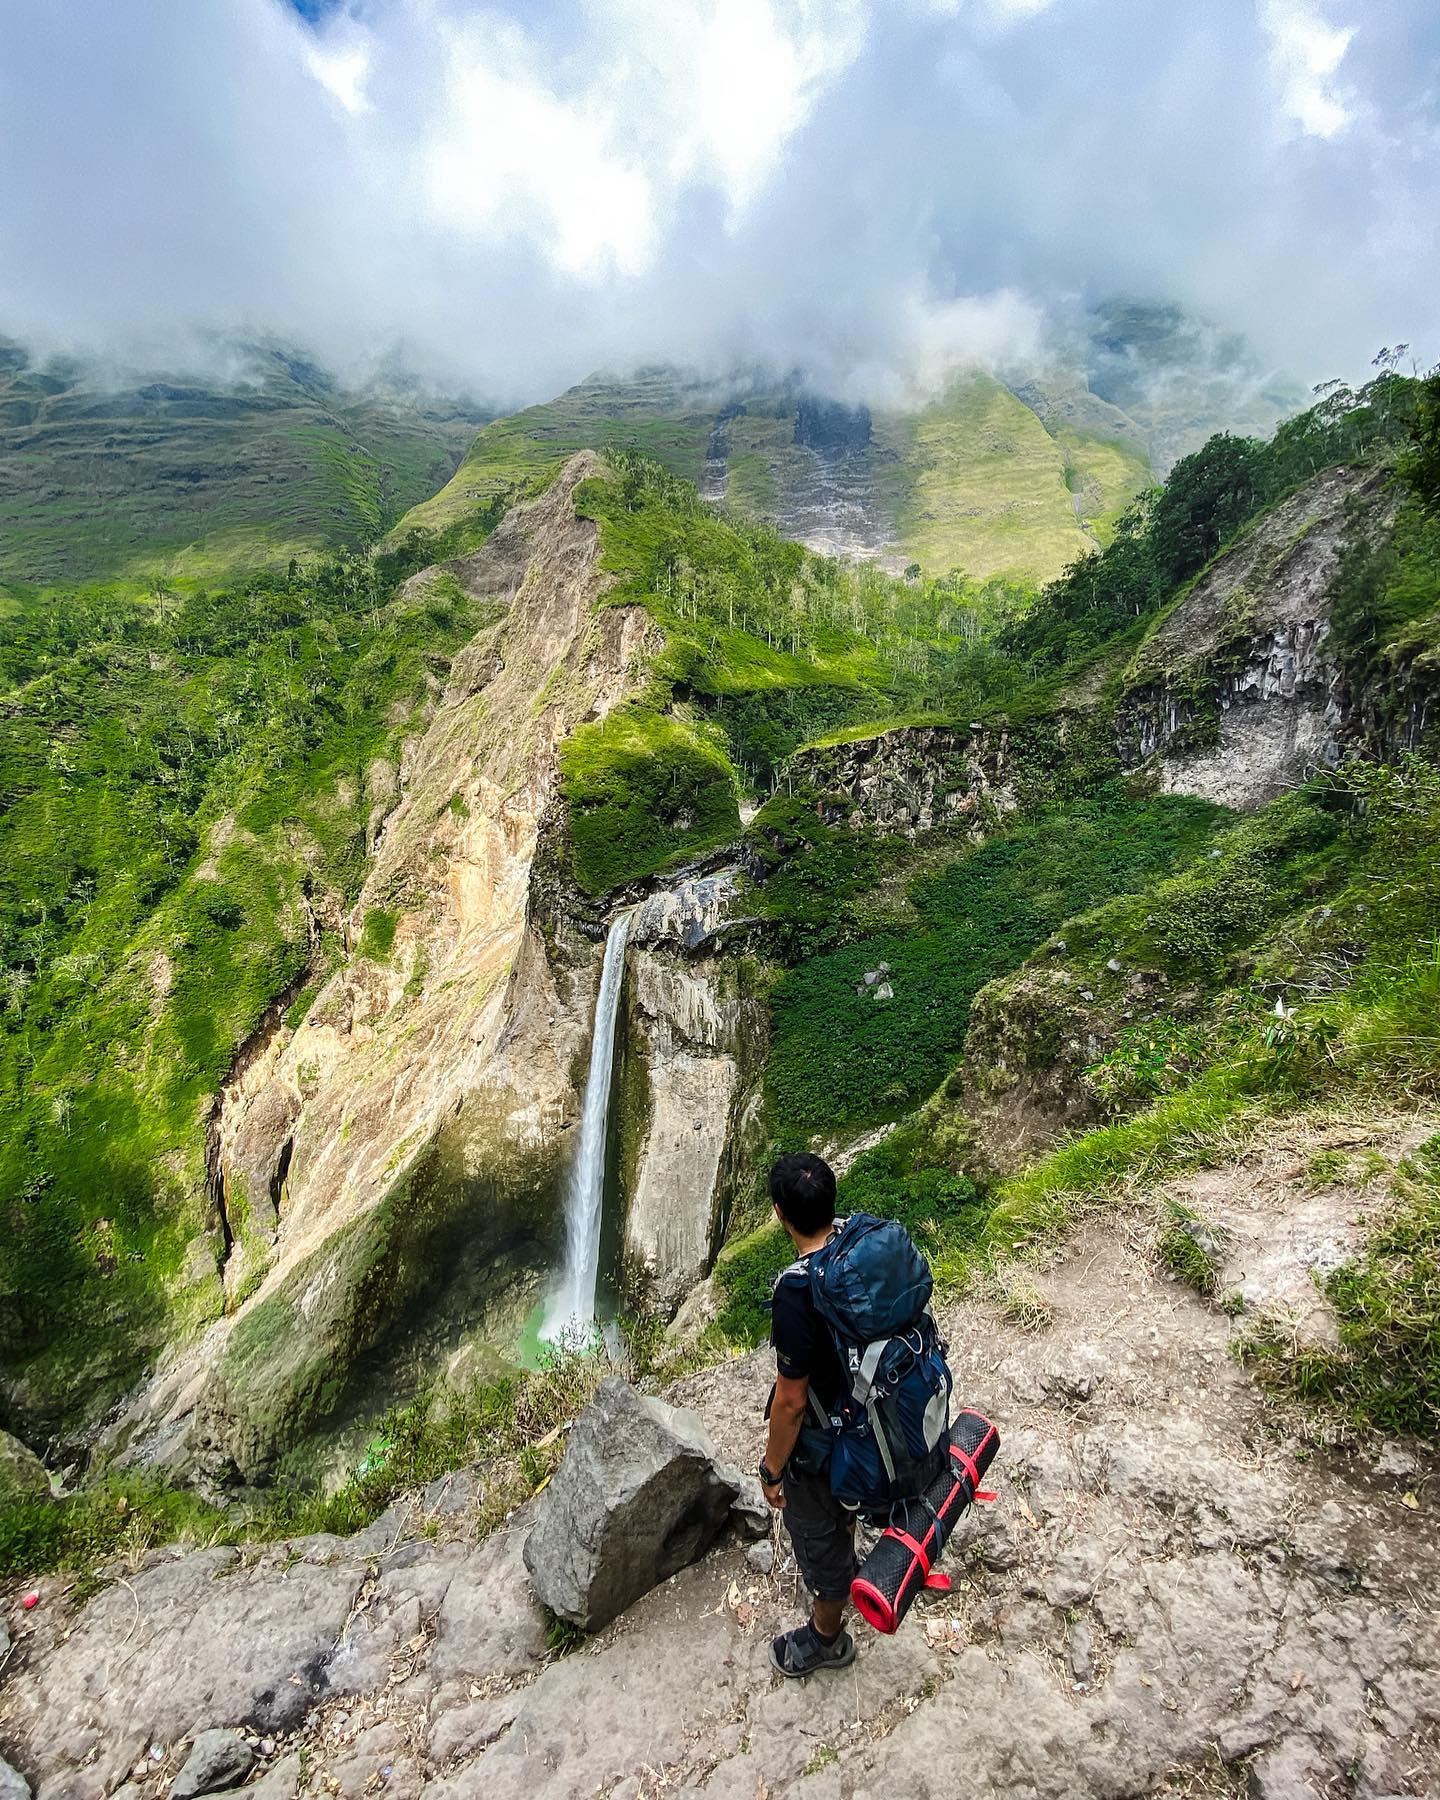
Image credit: @mikhail.mail
On the second day, you’ll make the descend back to the campsite to rest for a few hours and have lunch before heading further down towards Lake Segara Anak. The journey takes about 2.5 hours.
Here you’ll get to don your swimsuits and head to the natural saunas of the mountain. By this time, you’ll have aching feet and sore muscles. So, after more than 24 hours of not showering, dipping into the Rinjani hot springs with finally some time to relax will no doubt feel shiok.
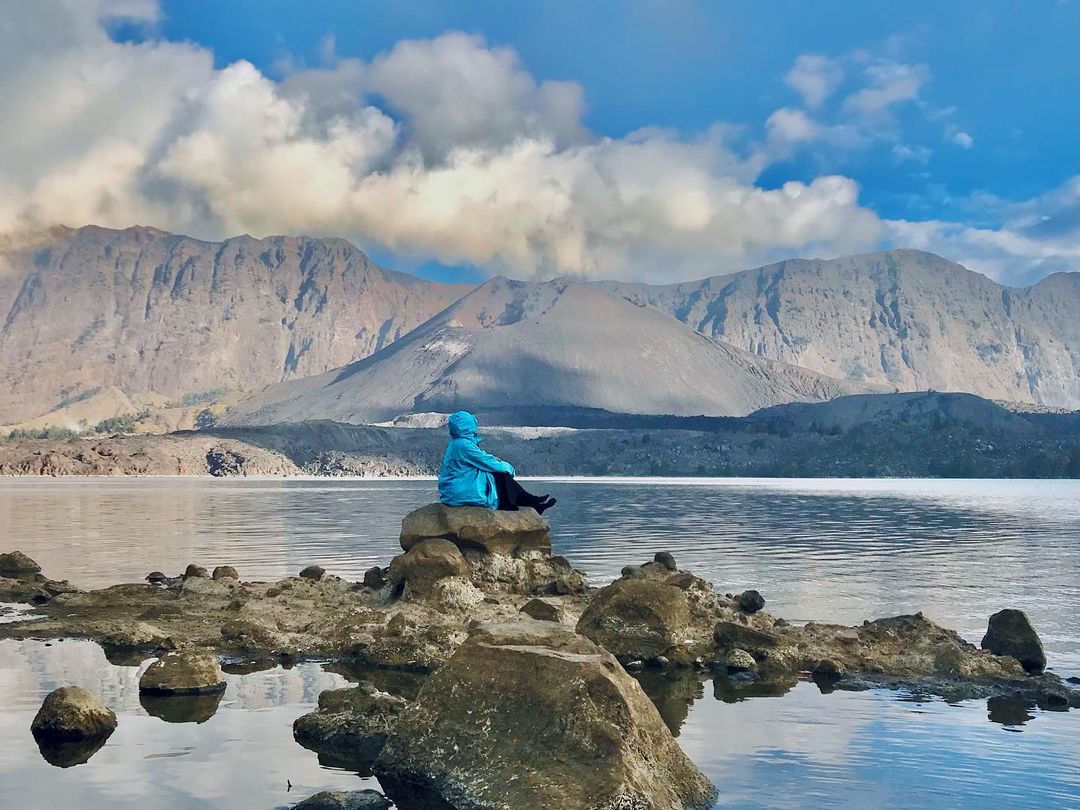
Image credit; @devi_isnaeni
Try your hand at fishing in the lake if your guide has brought some gear and fresh tilapia might very well be on the menu for dinner. On the second night, you’ll be able to sit around a bonfire by the lake as your guides grill food over the open flame and you exchange stories with each other.
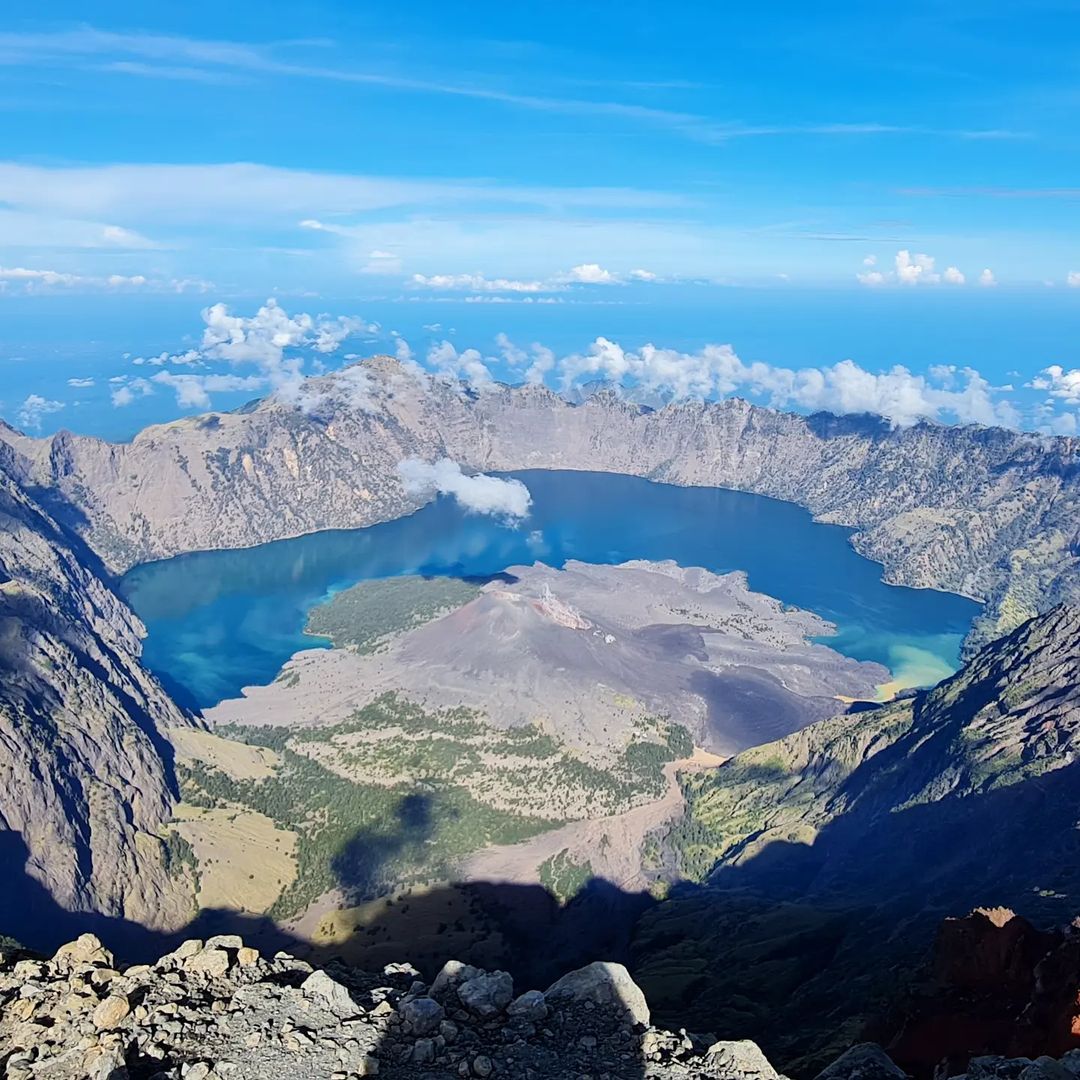
Image credit: @justinchiachia
Finally, on day 3, ascend to Senaru Crater Rim which takes about 3 hours and offers gorgeous views of the lake from above. For the 3D2N itinerary, your trek ends here as you make your way down to Senaru village to exit the park.
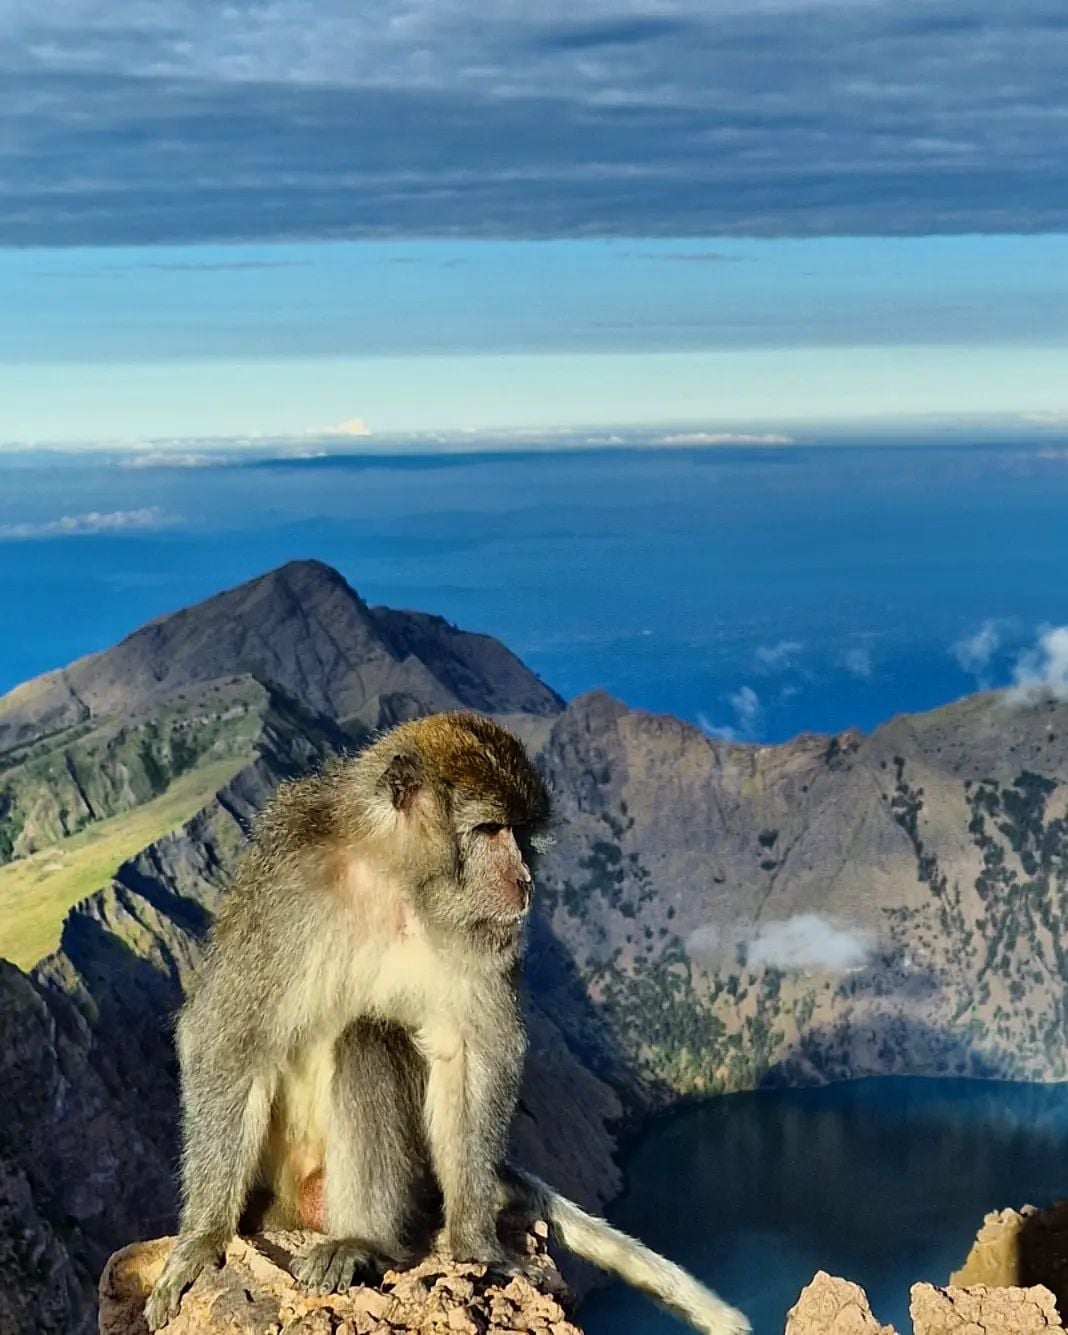
Monkeys are a common sight near the crater rim.
Image credit: @army_of_vincenzo
If you’ve chosen the 4D3N itinerary, you’ll get to spend an extra night in the forested areas near Senaru before ending your trek with a 5-hour descent the next day. This means one extra magical sunset in the mountains.
Food & drinks on the mountain
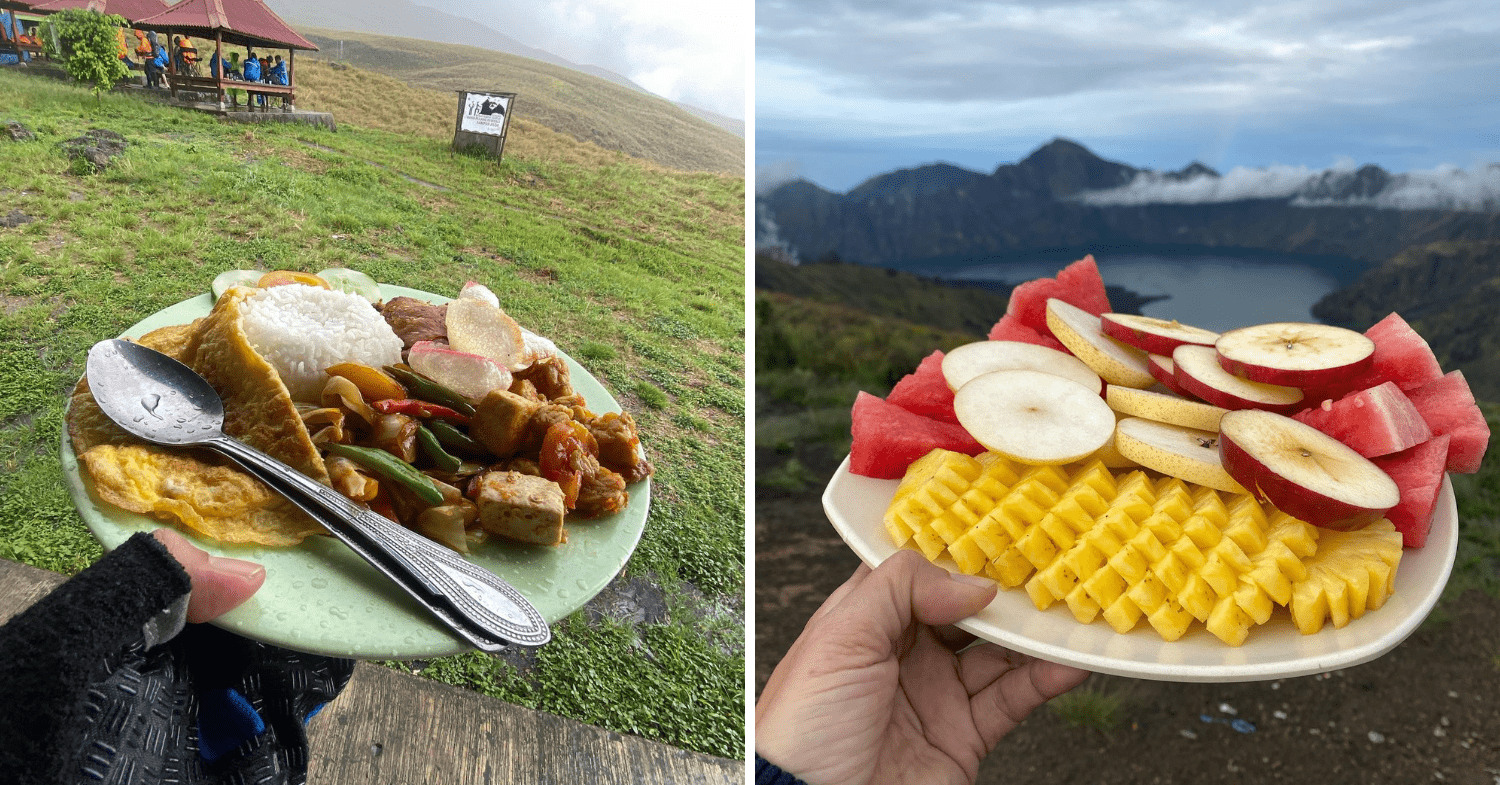
Image adapted from: @ariyanifendi
When trekking with a local company, meals are usually included and chances are the porters or guide will prep them for you. Unless you’ve specified otherwise, breakfast usually consists of fruits and pastries, while lunch and dinner feature a variety of local dishes such as mee goreng and soup noodles.
The porters also carry water bottles which can be boiled at the campfire every night and extra fruits to be eaten as snacks along the way.
Pro tip: If you’ve got a sensitive stomach, carry purifying tablets and charcoal pills just in case. For the extra boost, pack your own energy bars and nuts to munch on throughout the trek.
Packing for Mount Rinjani
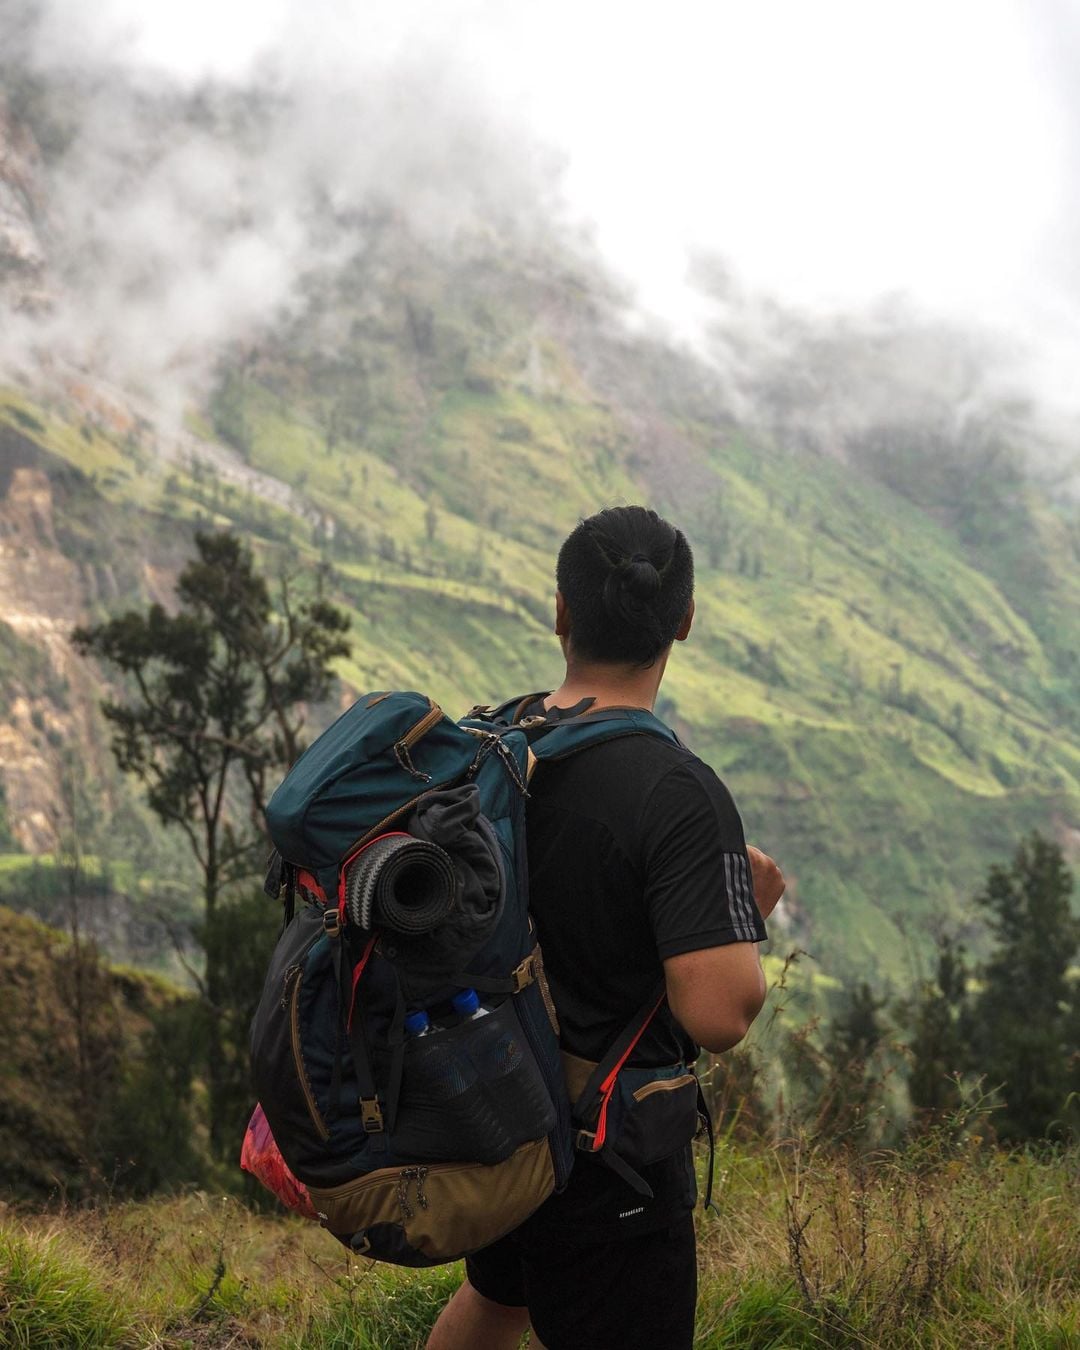
Image credit: @itswilliem
The first tip is to invest in a good hiking backpack with shoulder padding and at least 30 litres of capacity. You’ll need to fit a winter jacket or windbreaker as temperatures can go down to 1°C at higher altitudes, as well as a change of clothes. Keep a raincoat or poncho handy too in case of rain.
Although the porters will carry water bottles, you can bring along your own reusable one and keep topping up from their supply. You can also use a hydration pack which goes into your backpack and has a connecting tube-like straw sticking out so you can drink water hands-free.
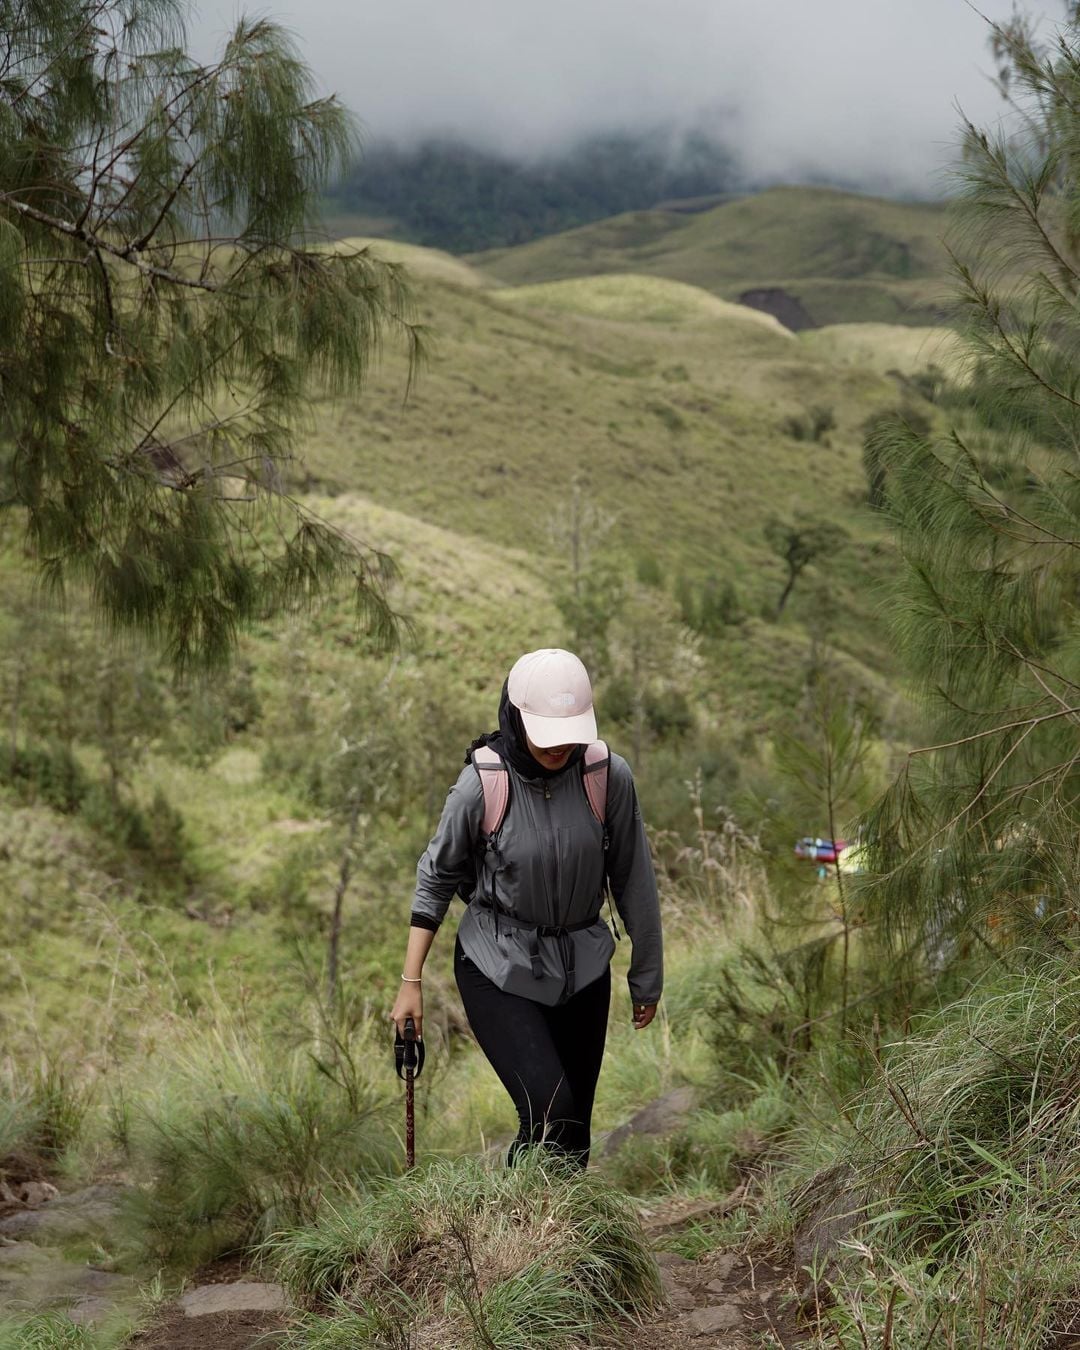
Image credit: @atiraalifiaa
Trekking poles are a big helping hand when it comes to climbing steeper slopes and legit hiking shoes are a must. There are no proper trails, plus the grounds can get slippery when it rains. You can also wear sunglasses and a neck scarf or face mask to protect yourself from the dust.
Of course, don’t forget to pack a portable phone charger to keep your phone alive to capture all your memories. Last but not least, we suggest bringing a basic first aid kit with antiseptic wipes, plasters, and bandages.
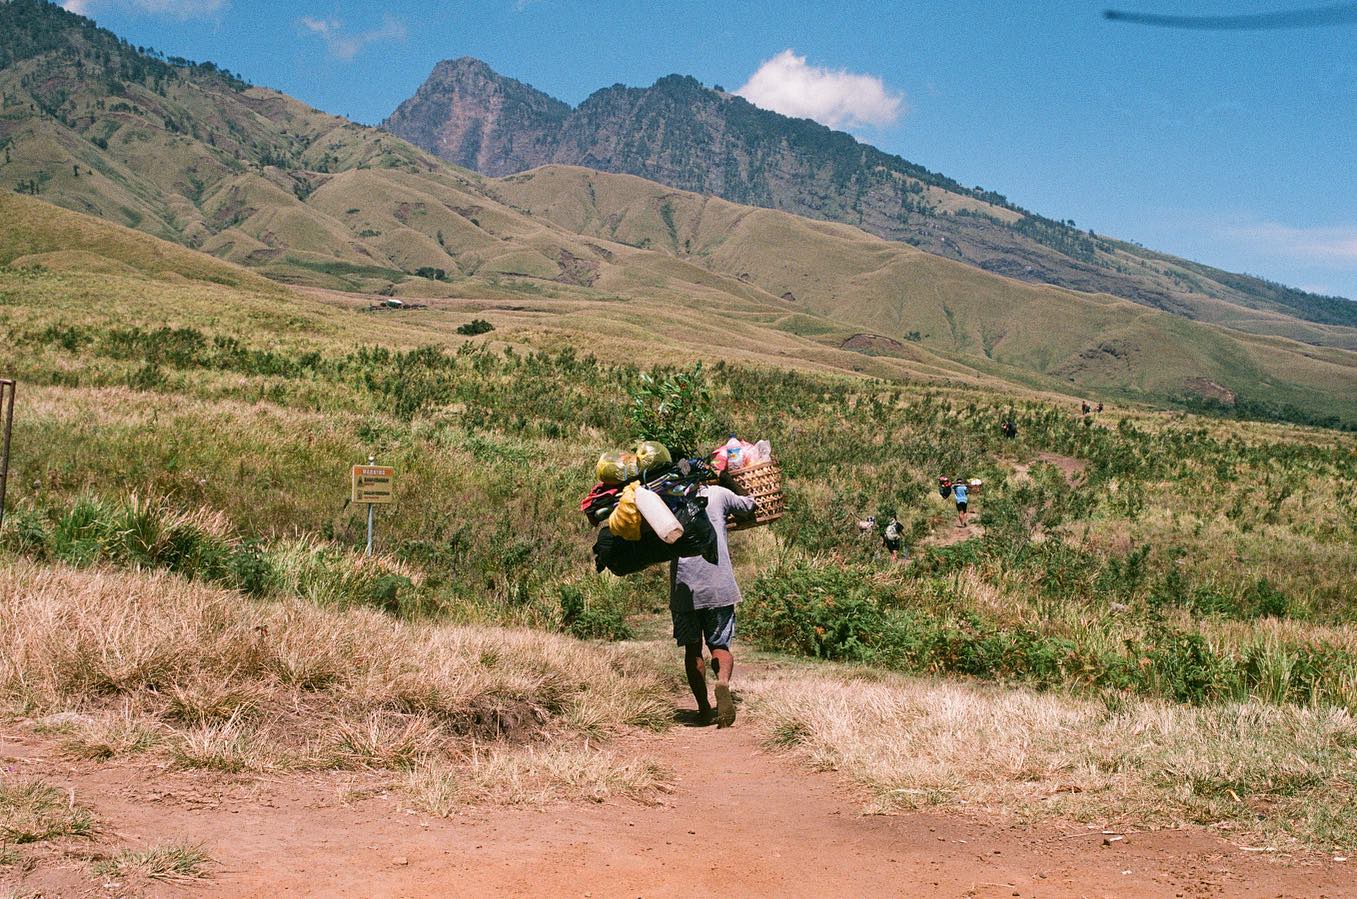
Image credit: @_430.2
The tour companies will usually provide the tents and food so you don’t have to pack those. However, do show the hardworking porters some appreciation by tipping them at the end of your trek. The recommended rate is Rp100,000 (~S$9.07) per porter.
Pro tips from other hikers
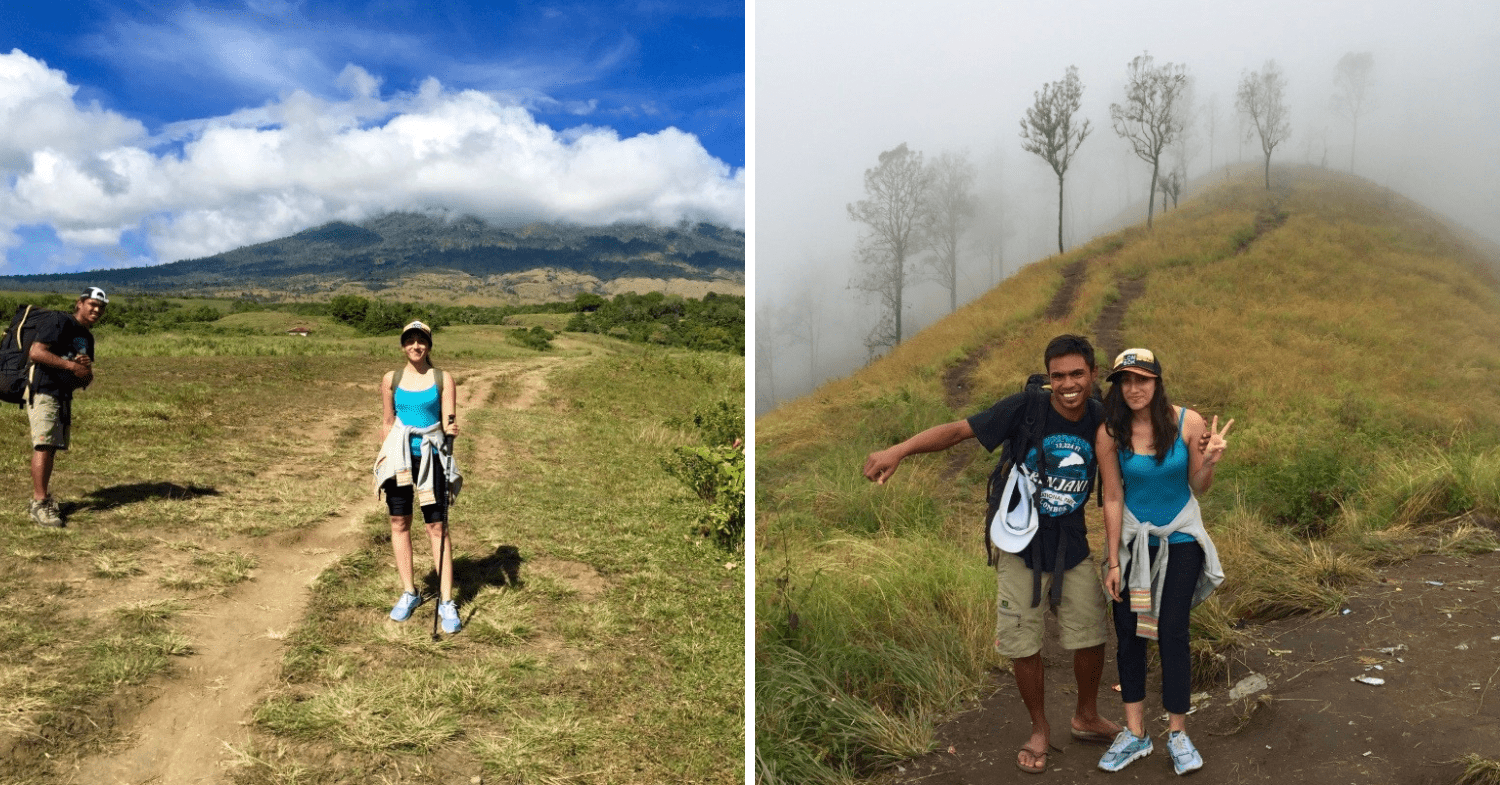
Clear and sunny in the morning, and cloudy with poor visibility by afternoon.
Image adapted from: Aditi Kashyap
The golden rule: stay close to your guide. These folks are the most familiar with the route and will be able to guide you towards the safest paths to climb. They are also experienced in case of injuries and will be able to help immediately.
Also, the visibility can get poor when you’re in the clouds and can’t really see into the distance. So, follow closely and don’t stray from their paths to avoid getting lost in the mountains.
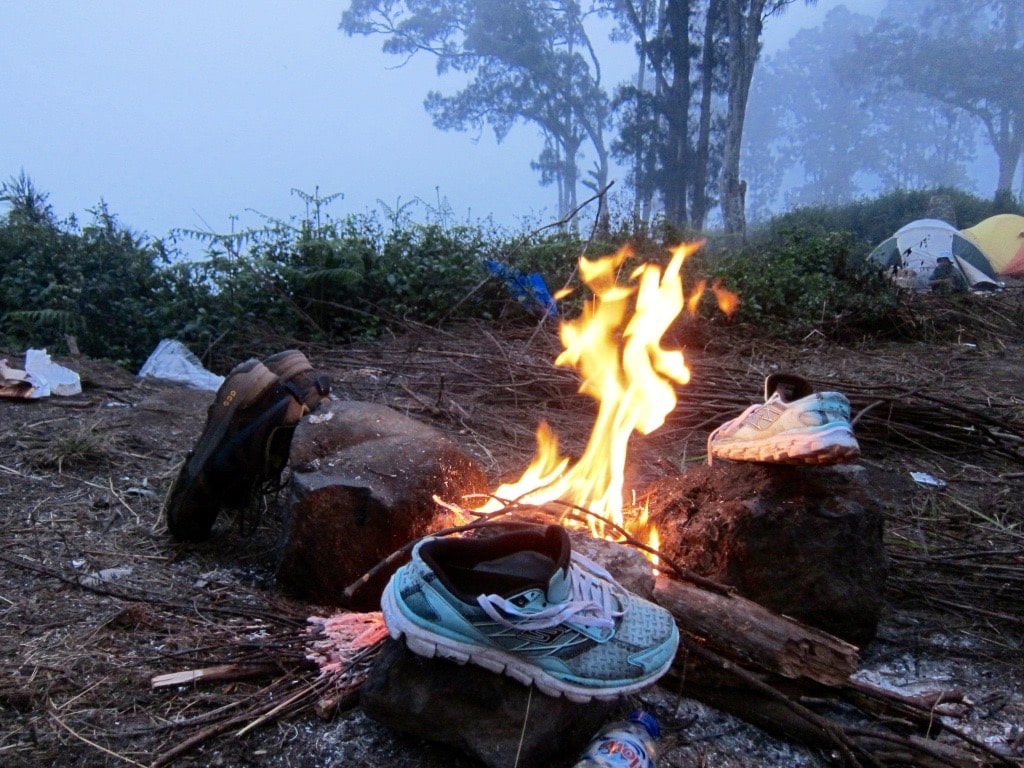
Image credit: Aditi Kashyap
In my experience, the guides are mostly in good spirits and make excellent cheerleaders when it comes to motivating the hikers during the more challenging parts of the climb. They also have great tips on how to survive the trek. For example, my guide told me to place my shoes near the bonfire to dry them when they had gotten wet in the rain.
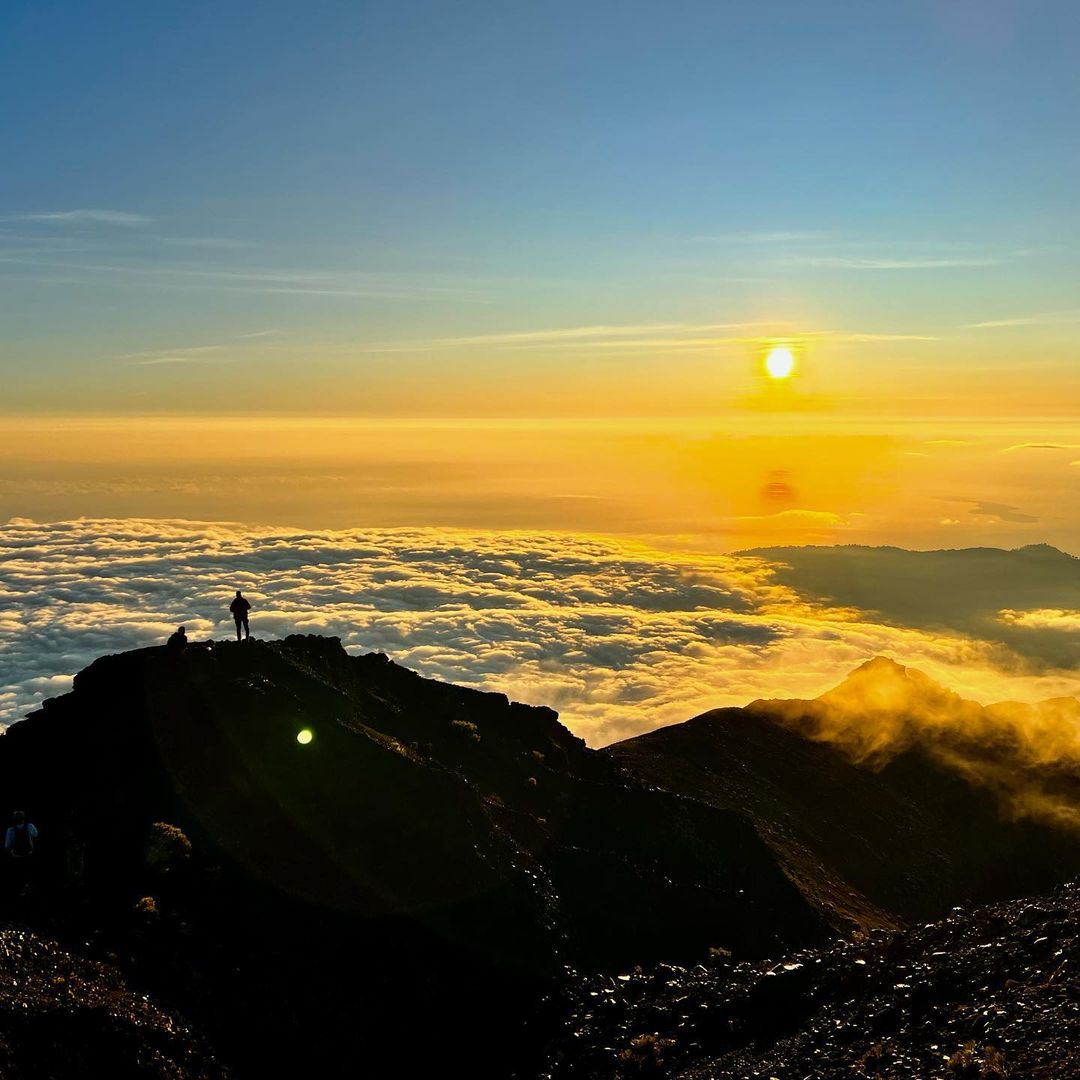
Image credit: @amberselie
This may sound cheesy, but here’s a gentle reminder to live in the moment. The sunrises and sunsets on Mount Rinjani are truly a sight to behold. There is no mobile phone signal on the mountain so this is the perfect opportunity to go on a digital detox and be present to soak the moment up.
Having said that, there’s no point asking the telecom services if your data will work on the mountain because it won’t. Before you start your hike, let your family and friends know you’ll be MIA for about 48-72 hours.
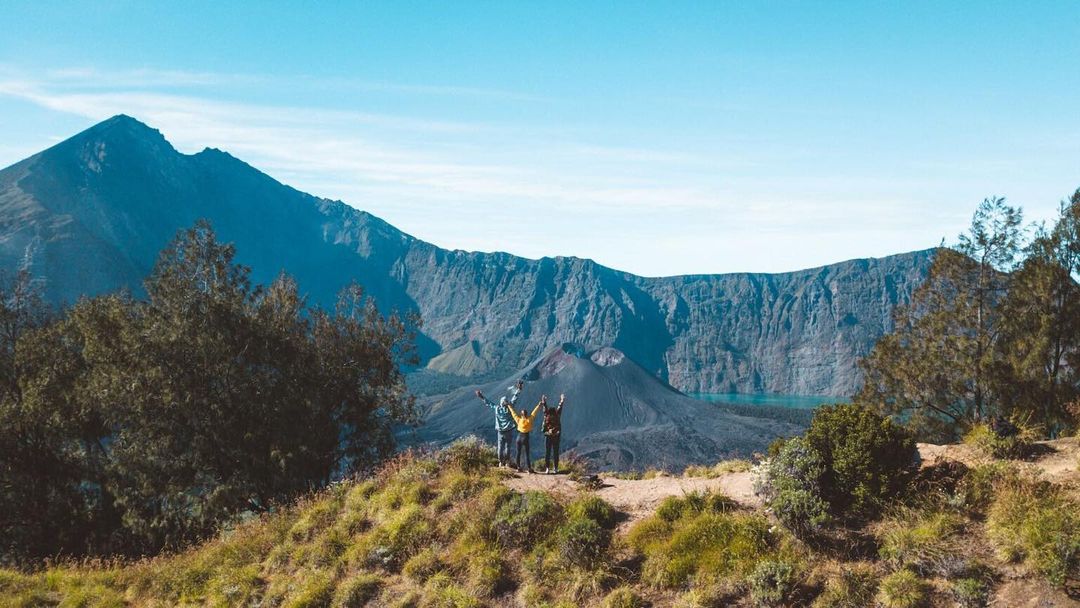
Image credit: @outdoorandcarnivore
To preserve the sanctity of the mountain, make sure you carry back all your litter and leave nothing on the mountain. At the same time, don’t remove anything from its natural habitat. Strictly avoid feeding the wild animals as well.
Getting to Mount Rinjani from Singapore
Image credit: @letyprima
Take a 3-hour flight from Singapore to Lombok. From Lombok, it’s a 3-hour drive to the foot of Mount Rinjani, which is usually arranged by your tour company.
Generally, one would stay a night in Lombok and head to the mountain early the next day. Alternatively, you could decide to stay in Sembulan village. However, accommodation in the village is limited to homestays and lodges.
Planning your trek up Mount Rinjani
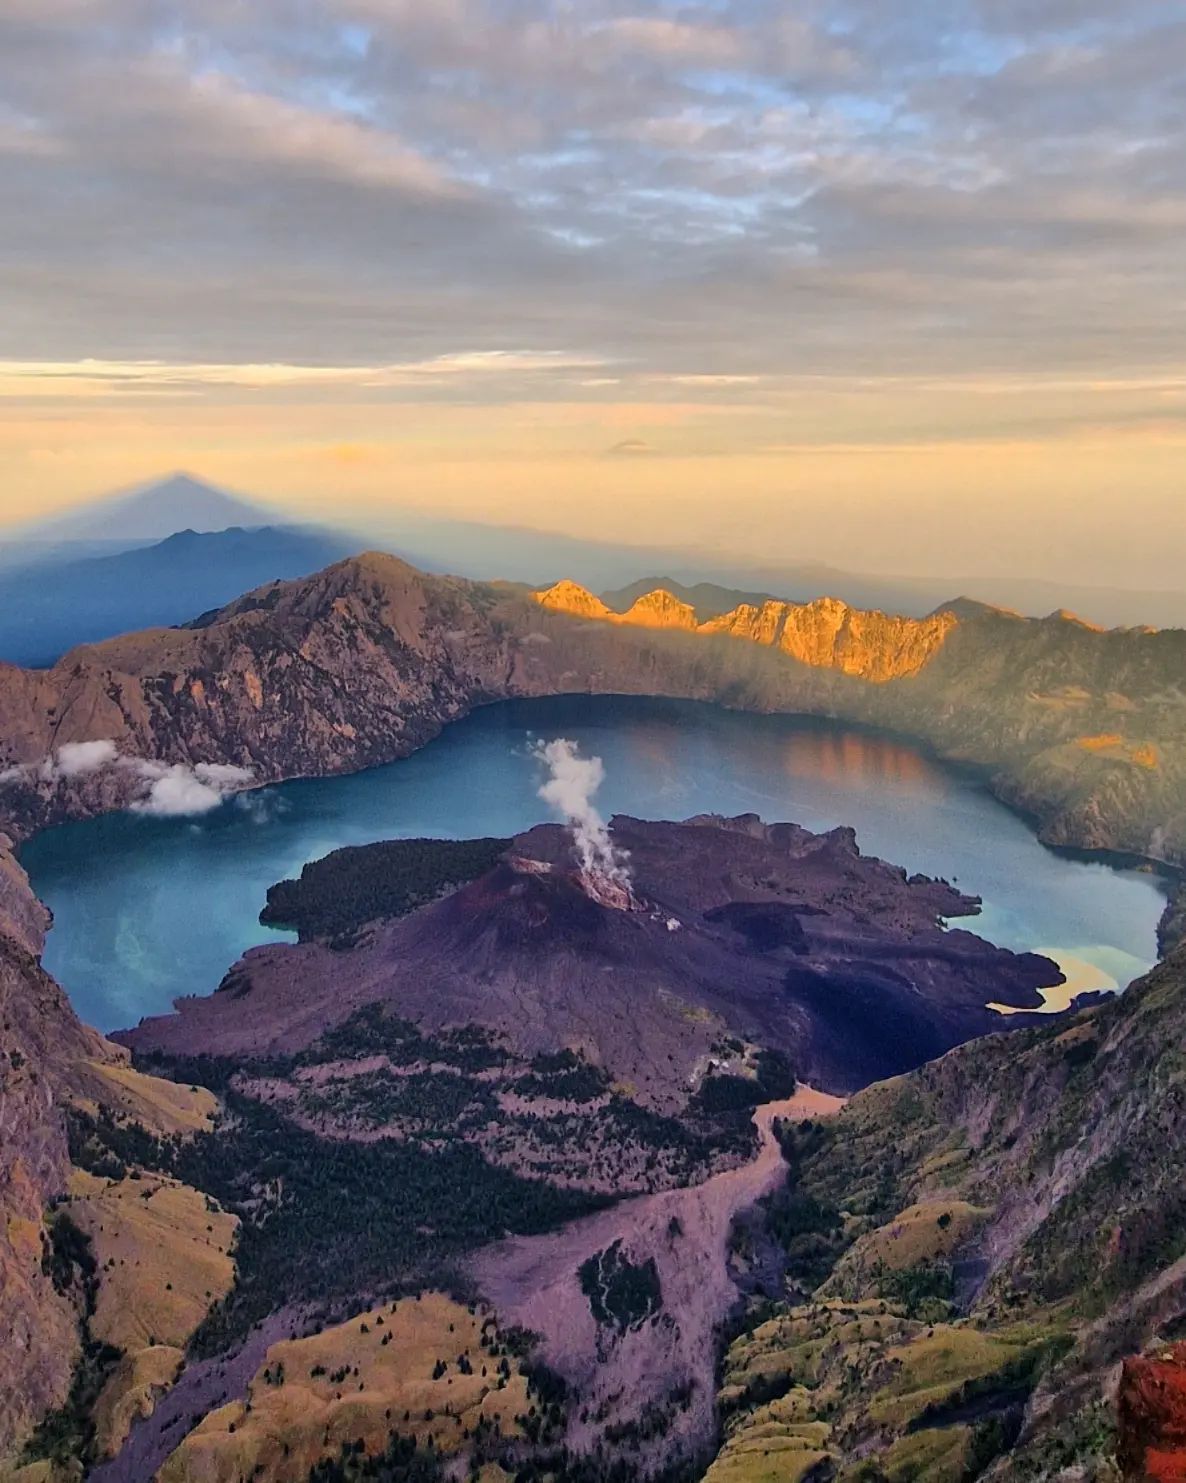
Image credit: @army_of_vincenzo
Now that you know exactly what to expect, here are a few more things to note. The trek is open from the end of April to early December but the most pleasant months in terms of weather are May to July.
A few months before you are due to leave, you can train for your climb by running up and down the staircase of your 25-storey HDB block at least 3-4 times to build your leg muscles as well as train your breathing for high altitudes.
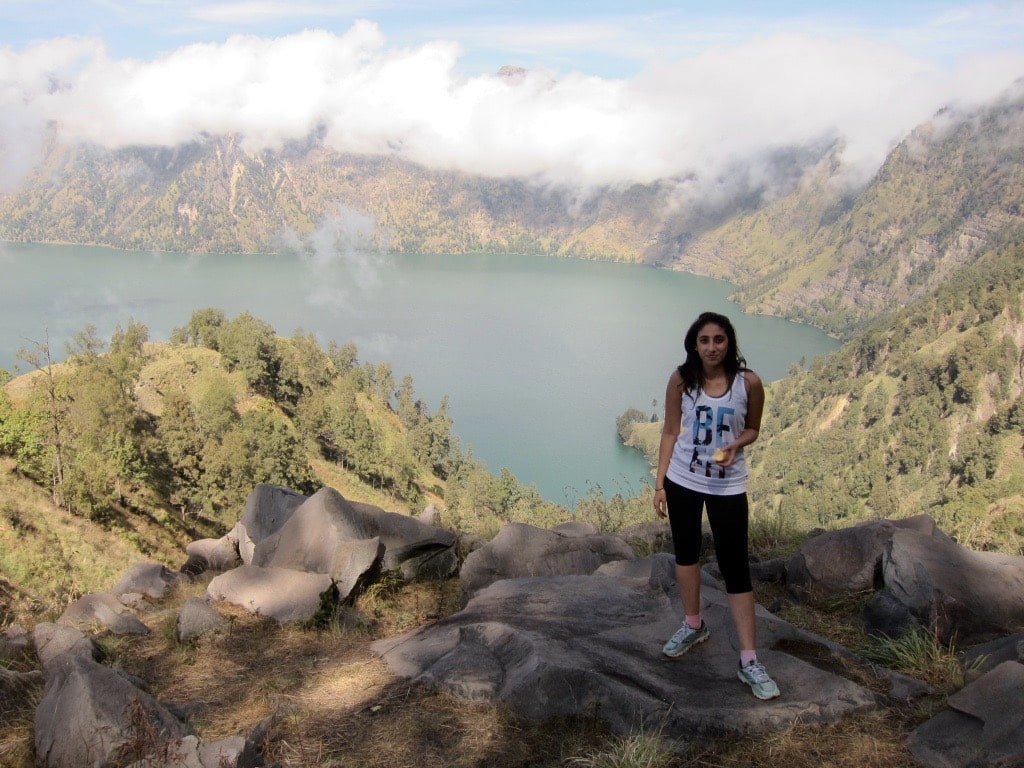
Image credit: Aditi Kashyap
At the end of the day, just enjoy the journey. In the words of Miley Cyrus, “It ain’t about how fast you get there, it’s the climb.” And if you have a day or more to spare, you can take a 90-minute fast ferry to Bali to reward yourself with a massage.
For more mountains to hike, check out:
Cover image adapted from: @risky.apriyanto, @yoelpriatama, @mikhail.mail


More Stories
Exploring the Enchanting Ijen Bromo Tour from Bali
Bali Canyoning Adventure: Exploring the Thrills of the Island’s Hidden Gems
Bali Tourism Minister Calls On Airlines To Add More Flights To Recession-Proof The Economy